I introduce the production process of design print wear.
« Design print

1. In the case of a car, the basic shape of the vehicle is traced from a photo, etc., and then deformed or customized according to the vehicle. For things that don't actually exist, I hand-draw the idea with a pen, and once the design has settled to some extent, I draw it on the computer and convert it into data. In addition, decide the text and font to be put together, and consider the overall layout. The application used for data conversion is Illustrator.

2. Once the size of the design to be printed is decided, outline the entire design (this will be the cut line). In order to cut from the side to be pasted on the clothing, the data is reversed and transferred to the app for the cutter plotter. Here you can set the cutting pressure, offset, cutting speed, etc. Once the settings are decided, it can be registered and then cutted by calling the settings from the next time.

3. This is a cutter plotter. A special cutter head is attached to the head part of a general printer, and the horizontal movement of the head and the forward and backward movement of the sheet are linked to cut the line on the data. The size that can be cut with this plotter is up to 30cm in width, and roll sheets can be handled, so you can cut longer in the vertical direction.

4. After cutting, remove the roll paper from the plotter, cut off the relevant portion, and remove the unnecessary sheets for printing. Since the whole is the same color, it is difficult to see the part where the blade is in. Therefore, I brightly light the sheet, look through a magnifying glass, and use a penknife or tweezers to peel it off.

5. Careful attention must be paid because if you do not remove it carefully while checking, it will peel off to the necessary part. It seems that it would be better to cut out the text part and graphics separately, but the whole image is cut out together with the original layout so that the positional relationship is not messed up.

6. Finally, print it on a T-shirt. Spread out the T-shirt on the ironing board and apply the cut out thermal transfer sheet to the transfer position. Although it is not shown in the photo, set the iron to a medium temperature (generally it seems to be 140 to 160°C) and apply it from above. The guide for the thermal transfer sheet says to iron for about 10 seconds the first time, then let it cool down and then iron it again for about 15 seconds.
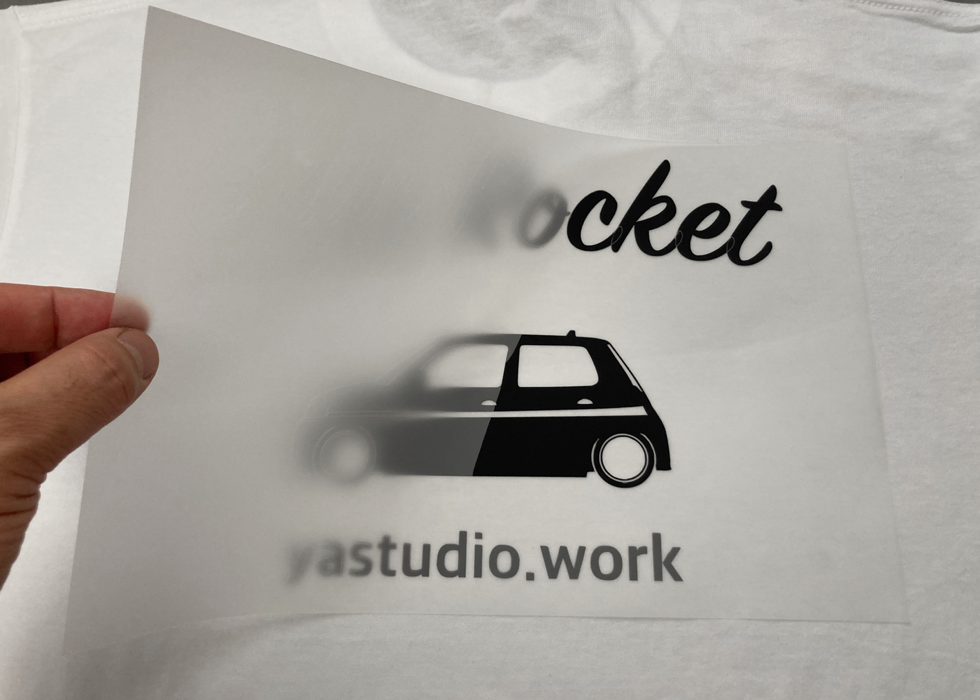
7. When the size is too small for the iron to stick out, I put a large parchment paper over it and iron it so as not to damage the fabric. Wait until the dough cools down, then slowly peel off the backing paper. After this, the cooking sheet is applied again and heat-pressed for about 15 seconds so that it adheres firmly.

8. It is complete when the heat cools down. It can be washed in a normal washing machine, but if you like it and wear it often (repeated washing), the edges may come off partially. In such a case, apply the cooking sheet again and heat-press it with an iron, so it will stick firmly again, so please try it.