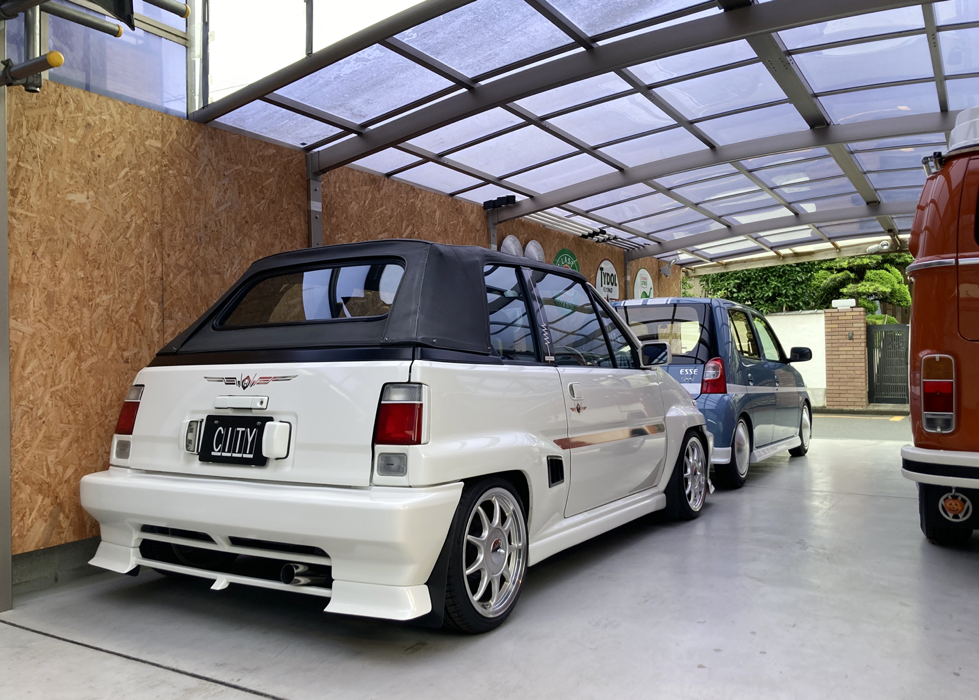
« HONDA CITY CABRIOLET TURBO2
35. Wheels 15inch → 16inch
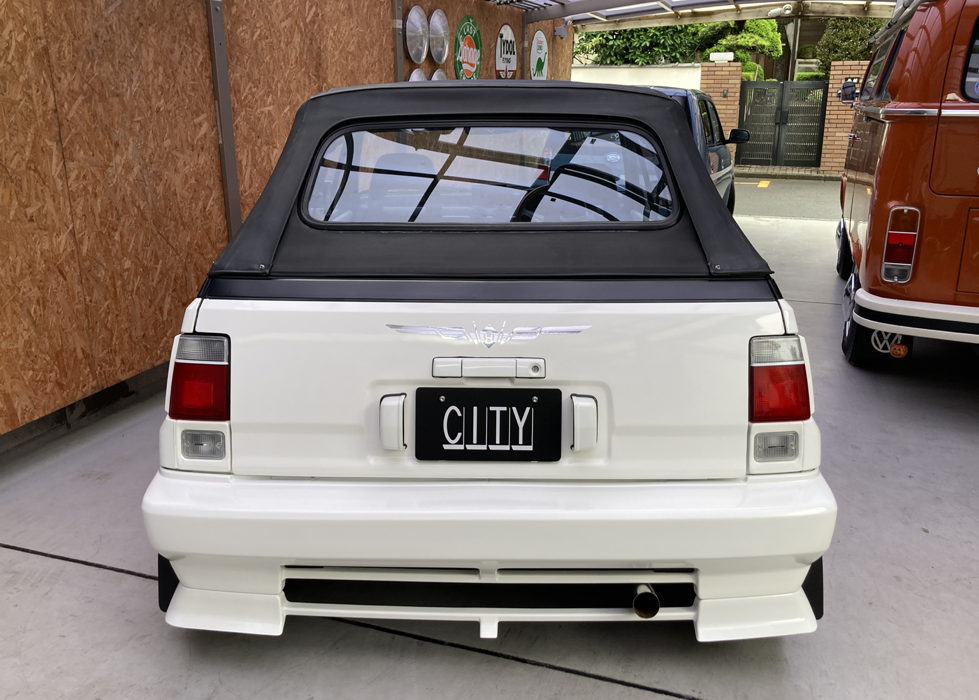
34. Clear blinker lens (Rear)
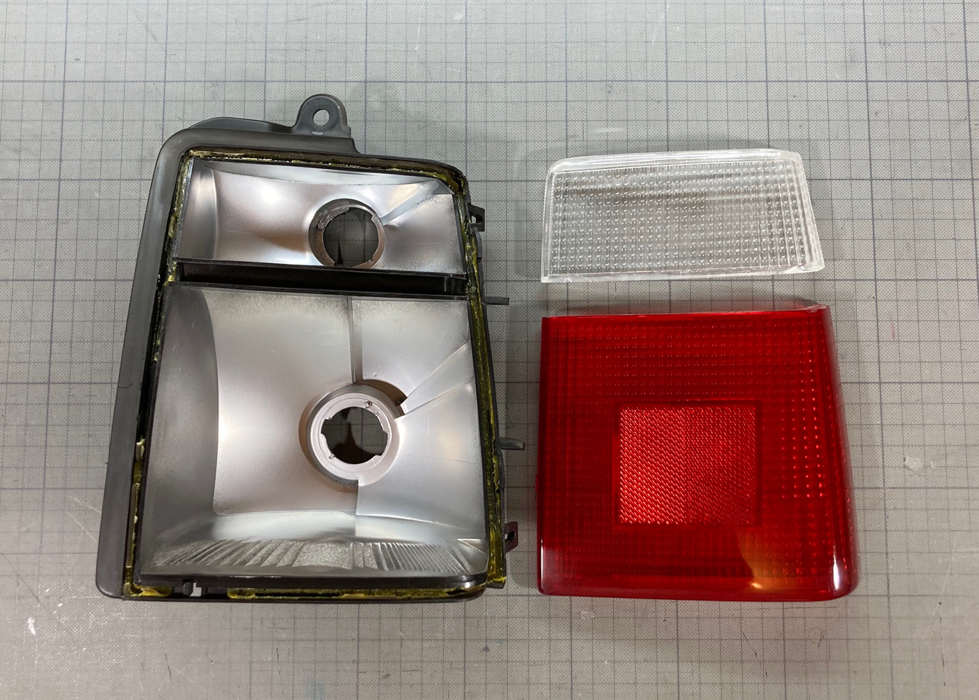
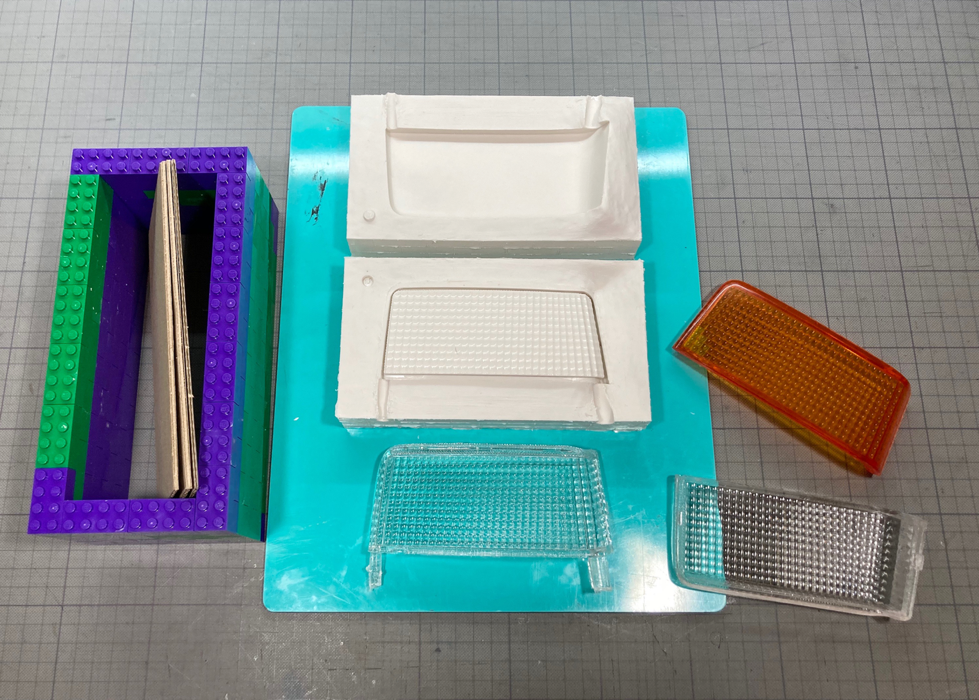
I finally make true the clear lens of the tail lamp blinker part that I had imagined for many years! Disassemble the original tail lamp unit, cut it leaving the winker lens part, fix it with oil clay, first take a male mold with silicon, turn it over to take a female mold, pour polyester resin into it, and mold a transparent lens.
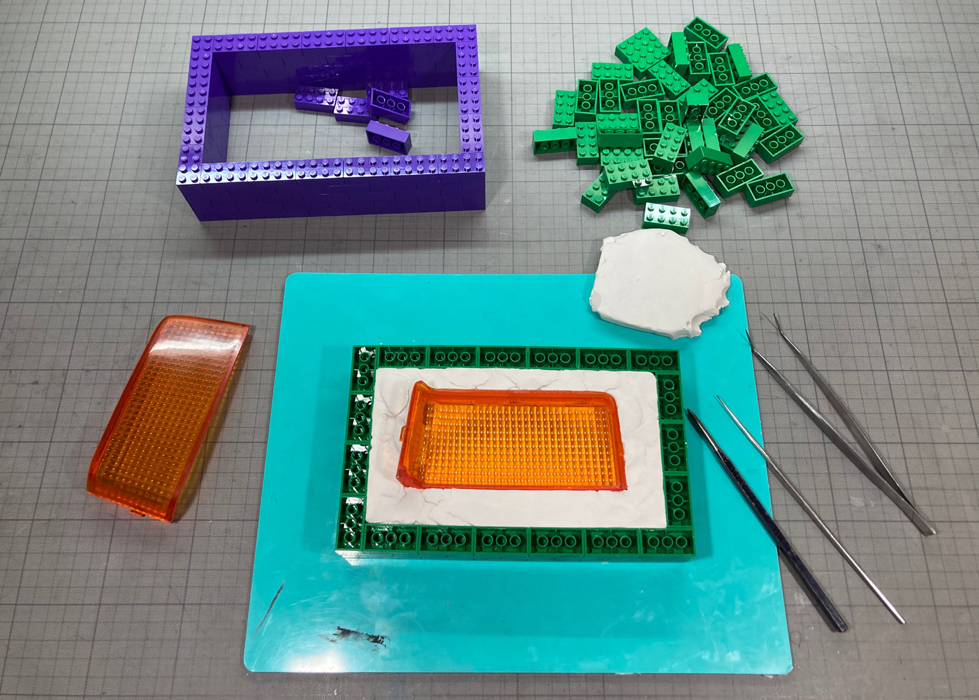
The LEGO block is very useful for this molding work. The size can be changed freely, it has strength, it can be separated and used again when taking out the mold, and it is perfect for the formwork material!
To incorporate the clear turn signal lens into the tail lamp unit, this time, I cut the orange turn signal part, leaving the brake lamp part of the original lens, and attached it to the tail lens shell for each. To make it easier to replace only the clear lens when it turns yellow, the lenses are not glued together and a reflective tape is attached on the mating line.
Polyester seems to shrink a little, and the width is a little short (does not bother me). Later, I learned that adding an ultraviolet absorber etc. would reduce the deterioration, so after this, I try making more than one and replace them if they are in good condition.
Then, I got a small sequential turn signal unit before, and when I tried it on the tail lamp shell, the size and shape was perfect, so I adopted it. It's short enough to make you laugh, but it's good!! (^_^)
Much better than orange!
Setup complete!
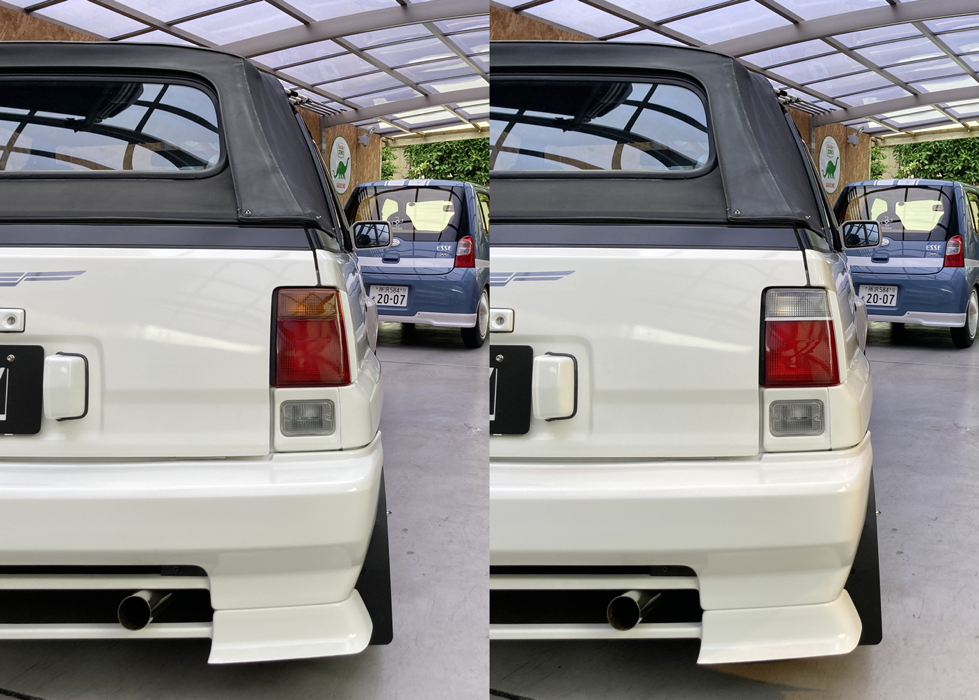
Before / After.

Cover the butted part with the tail lens with a reflective line seal.
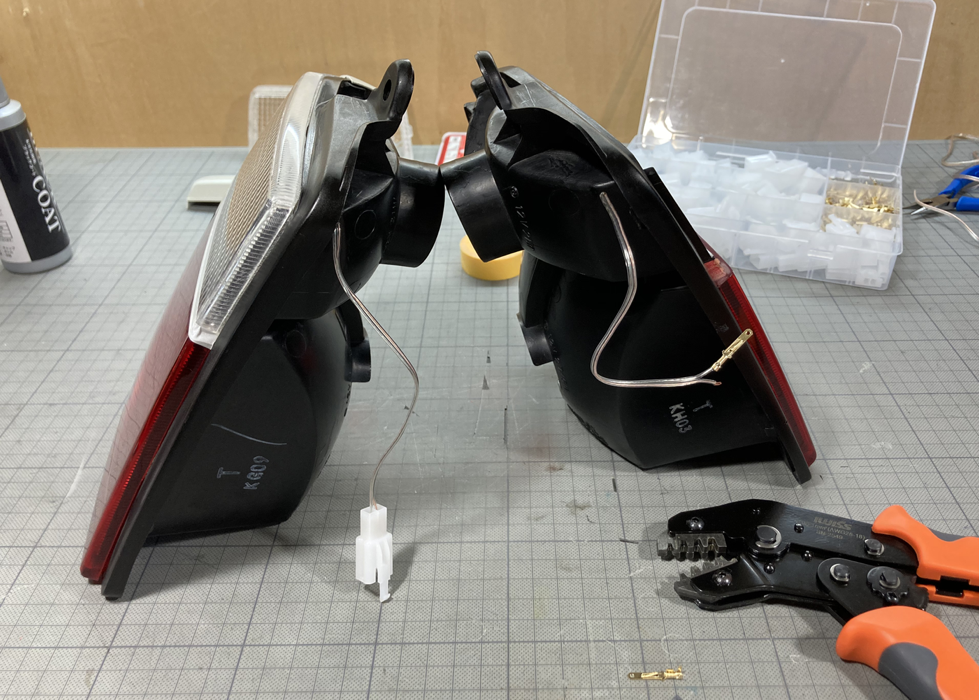
Connect the connectors to the wires on both the left and right sides.

In addition, attach the flowing LED light to the inside and wire it.

透明レンズ、左右セット完成。
I'm going to put both together and mold them at the same time.
I also completed a mold for the other side.
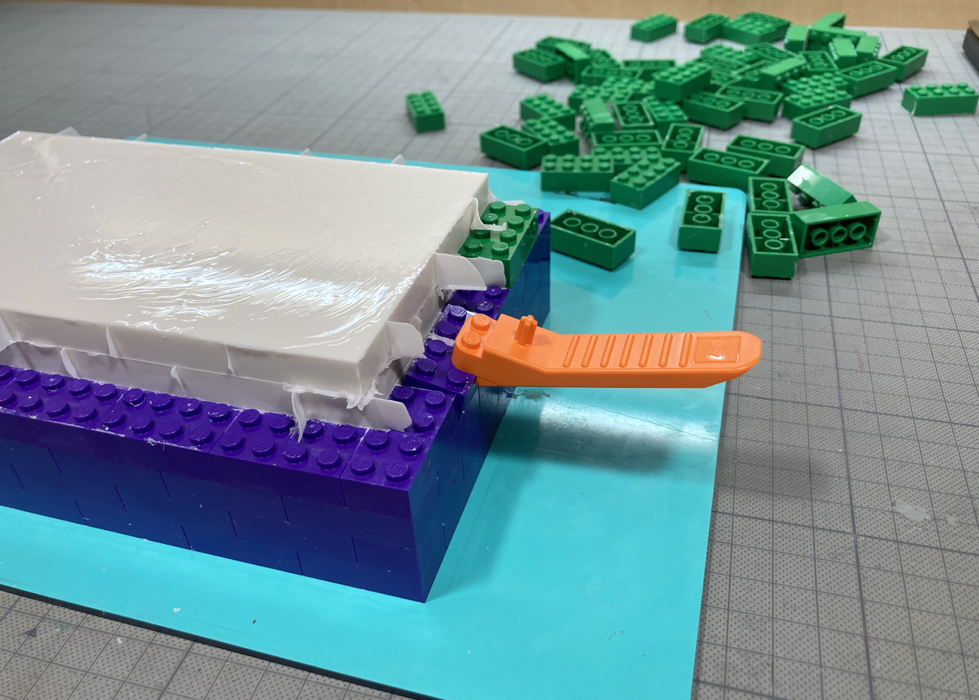
It is a special tool for removing legos that are stuck hard.

It seems to be an iron rule to make from the male mold.

Continue to mold the other side in the same way.

The lens fits nicely.
Let's match the molded lens to the tail lamp.
I poured transparent resin into the mold and opened it after a few days.
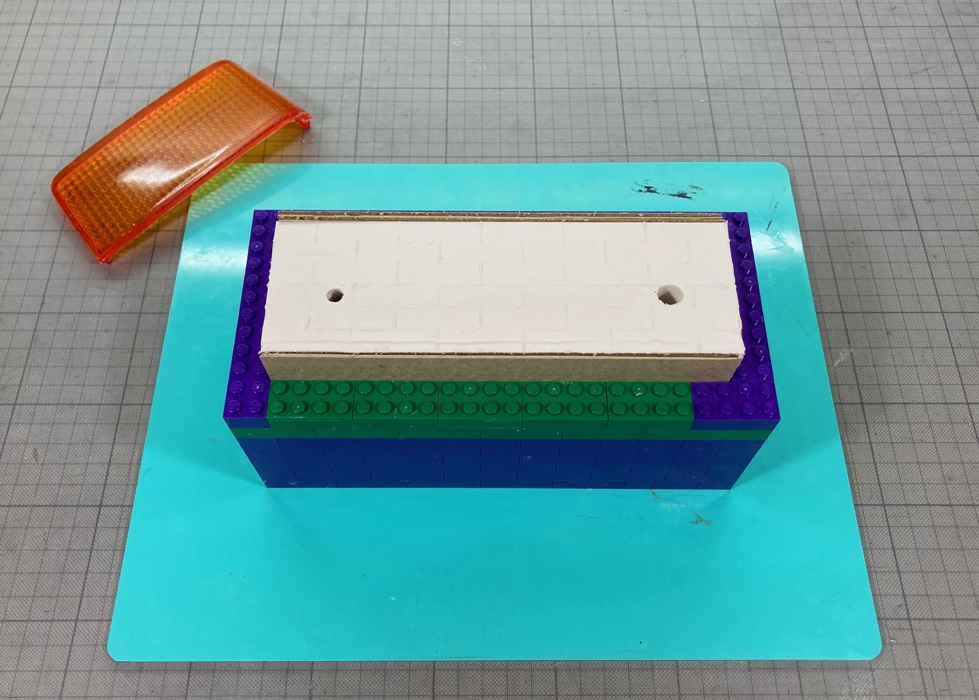
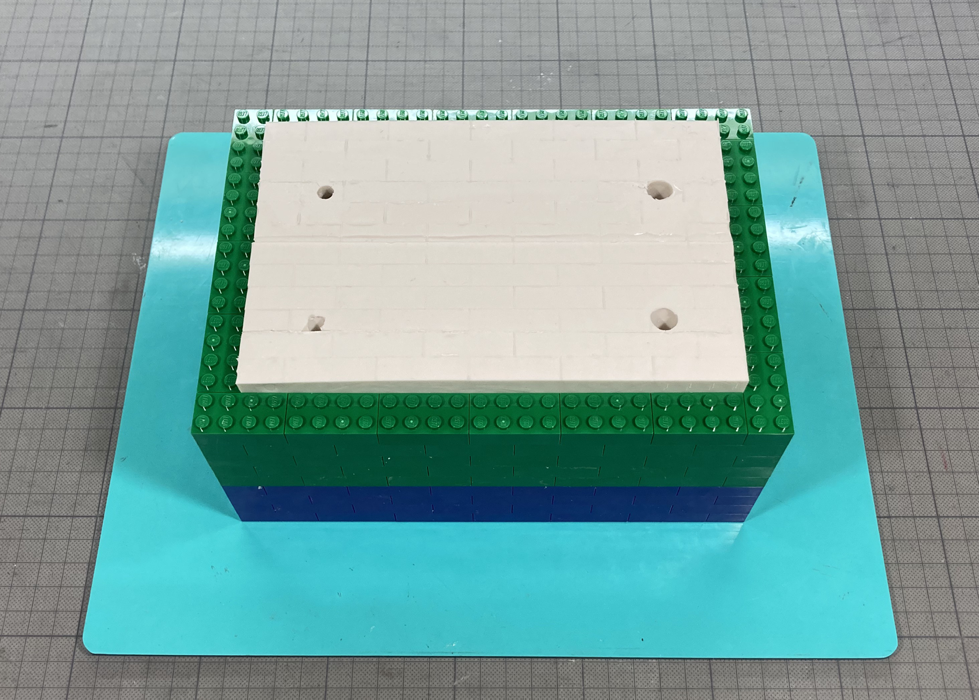
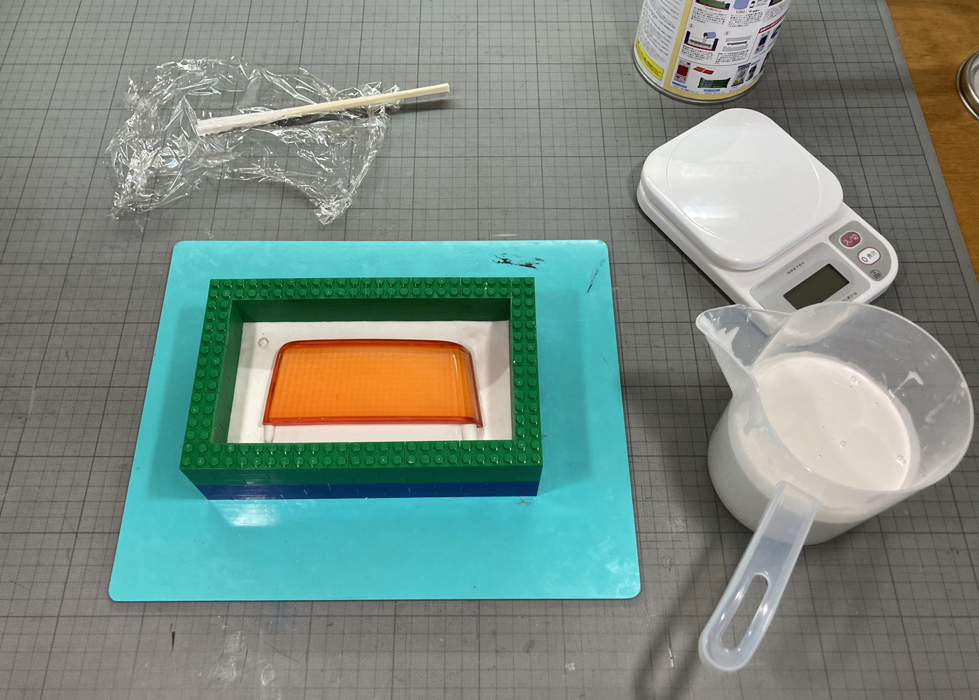
Close the mold and surround it with a frame.
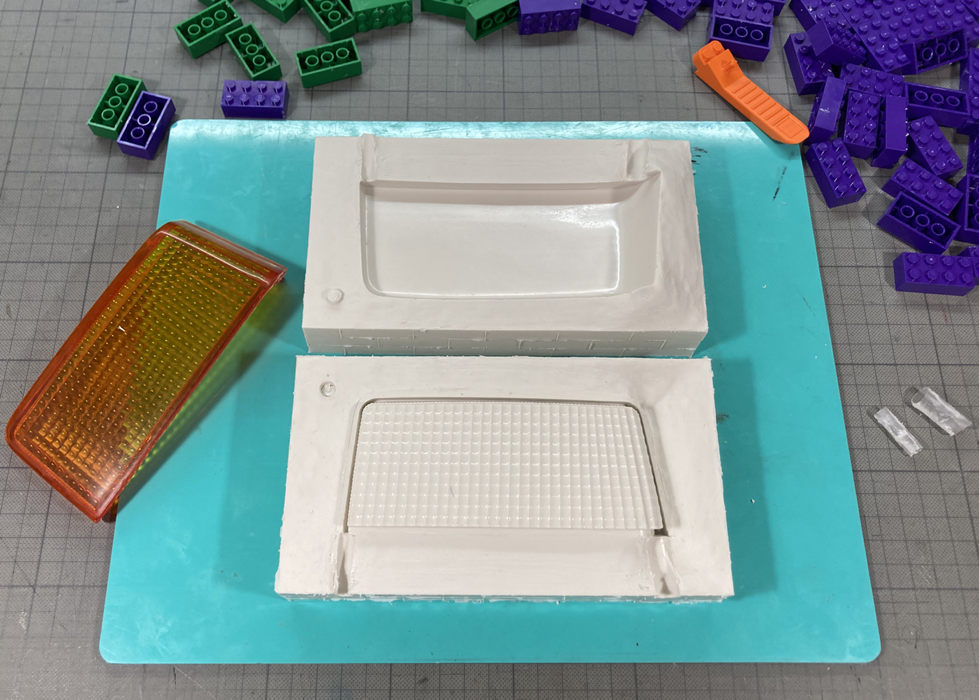
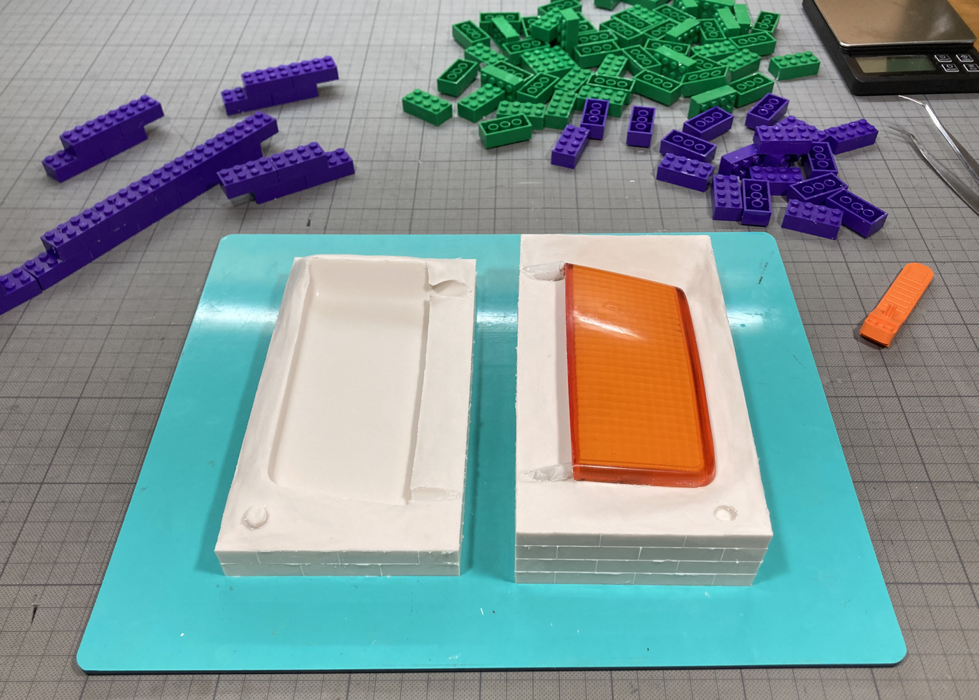
Open the mold and remove the original orange lens.

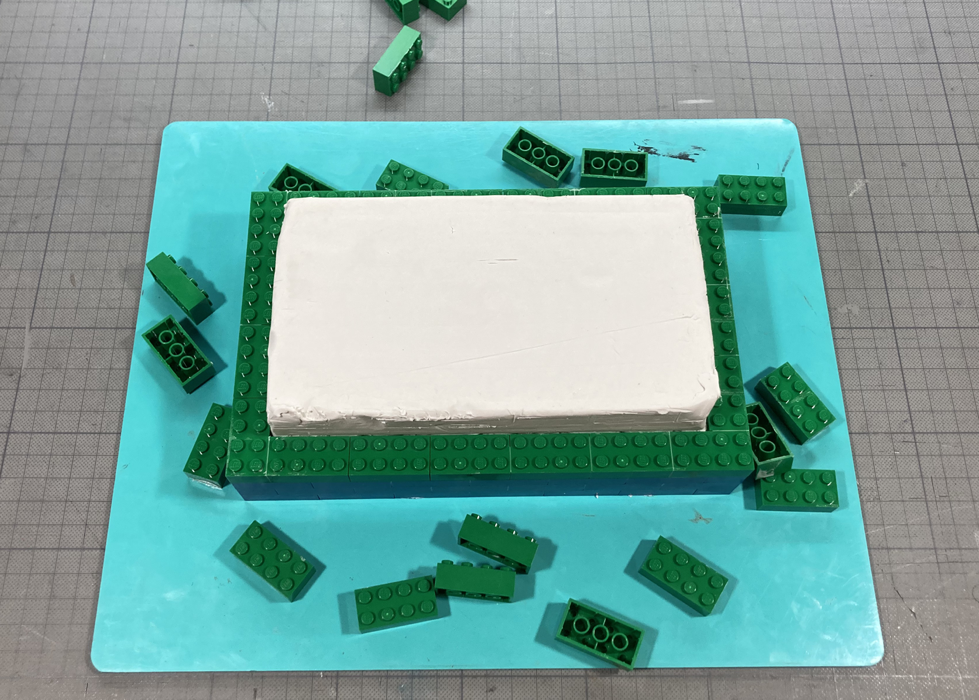
The silicone mold for the lens on the other side is complete!
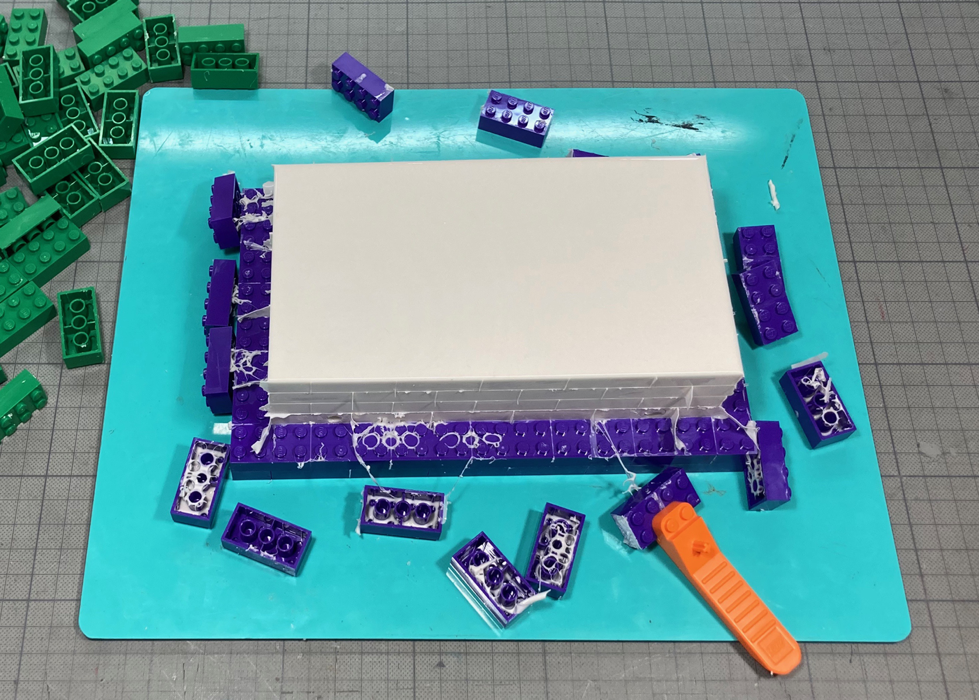
After a day, when the silicone has hardened, dismantle the frame. Silicon is leaking from the gap of Lego.

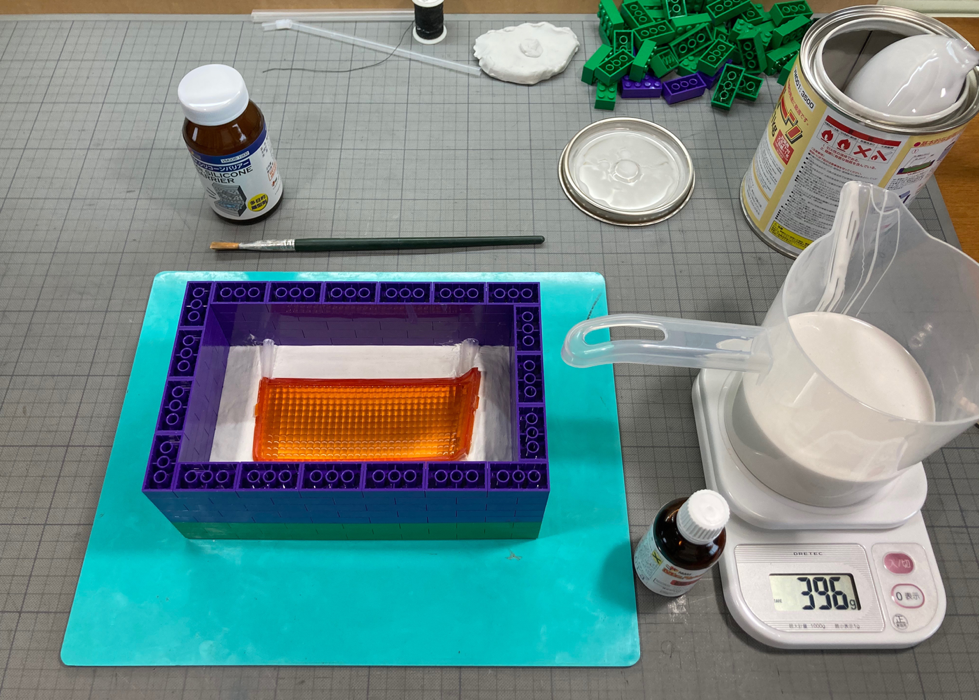
Pour silicone mixed with hardener. It was difficult to hold the container by hand all the time, so I fixed it with a clip.
Next, stack the frames to make a female mold. I think like I applied a mold release agent at this time as well.
Set the straw on to the resin inlet and air vent.
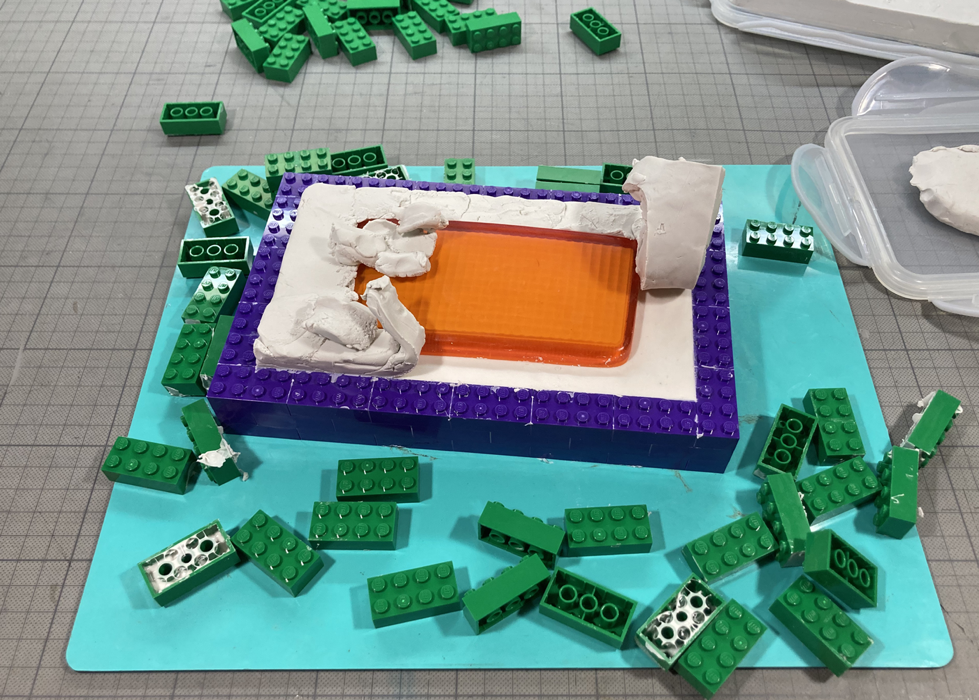
Remove clay.
After a day has passed, after the silicone has hardened, turn it over and remove the bottom frame.

Pour silicone mixed with hardener.
Stack the frames and apply release agent to the clay.
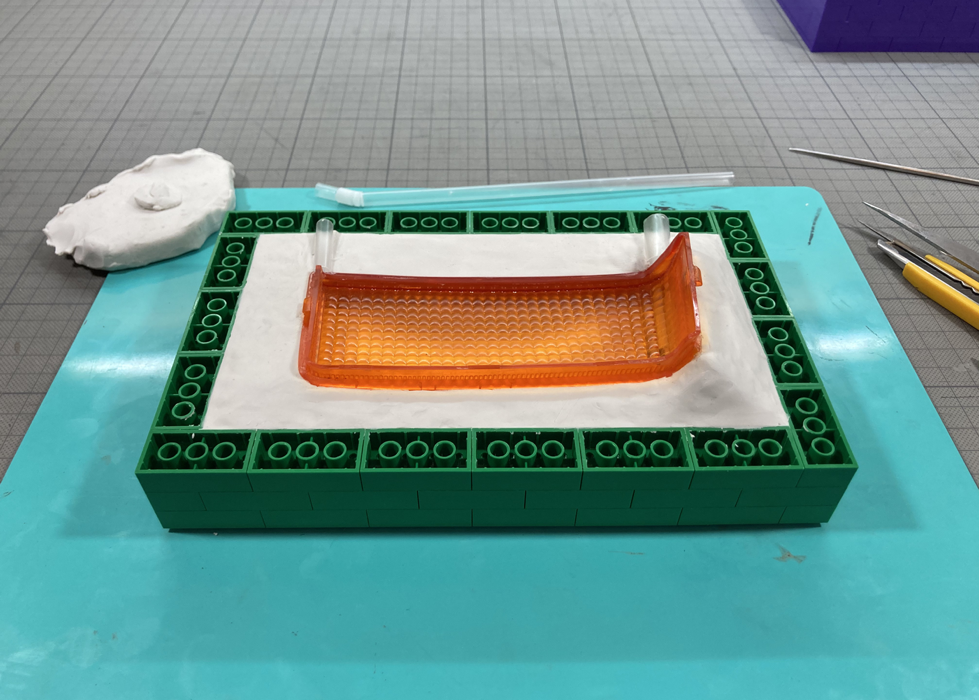
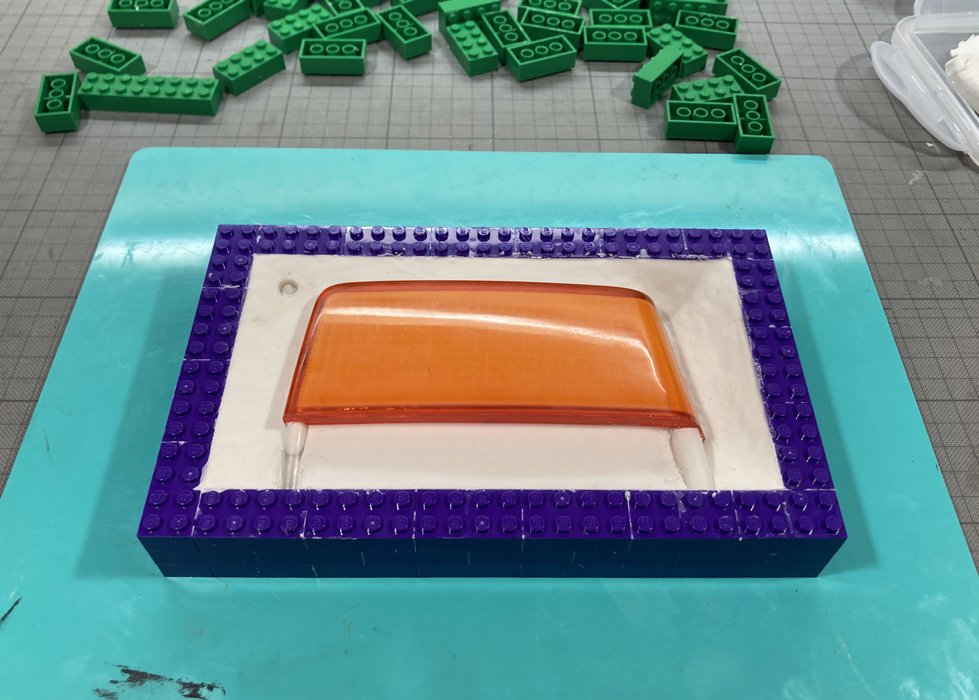
Shape the clay so that the seam of the mold is on the edge of the lens.
Make a frame with Lego blocks, cover it with oil clay, and place the blinker lens that was cut out from the disassembled tail lamp in advance.