« HONDA CITY CABRIOLET TURBO2
55. Vehicle inspection
54. Front full cover
I made covers for the bonnet, grille, and bumpers, so I finally started making fender covers (and for headlight rim). It was very difficult to match the shape. Remade more than 10 times.
I checked the shape, took it into my Mac, cut out the seal sheet with a cutter plotter, pasted it on the fabric, cut it, sewed it, and checked the shape again ... This process was repeated.
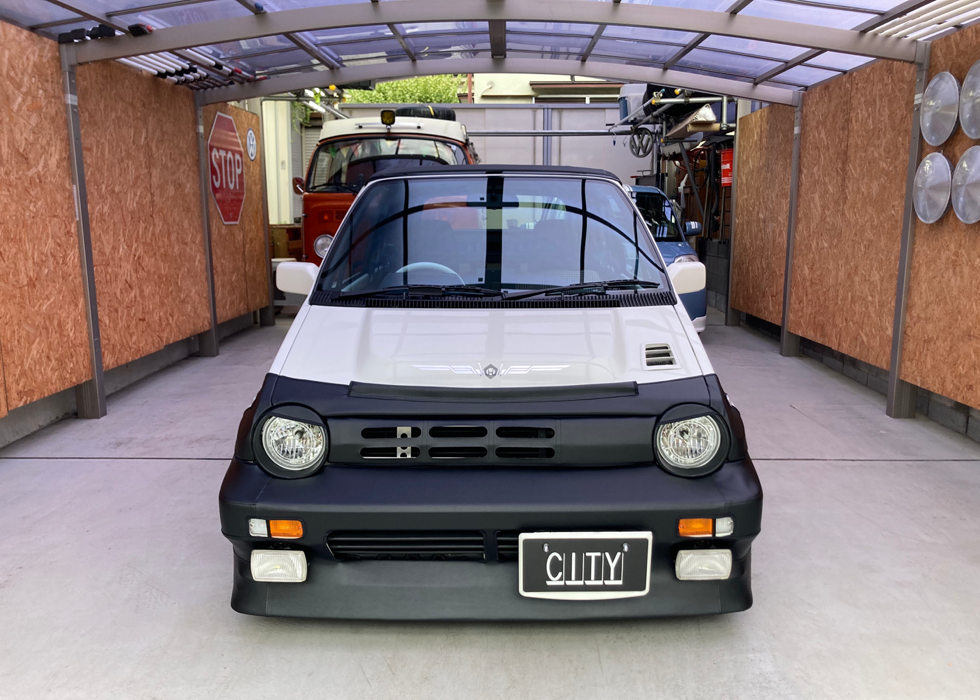
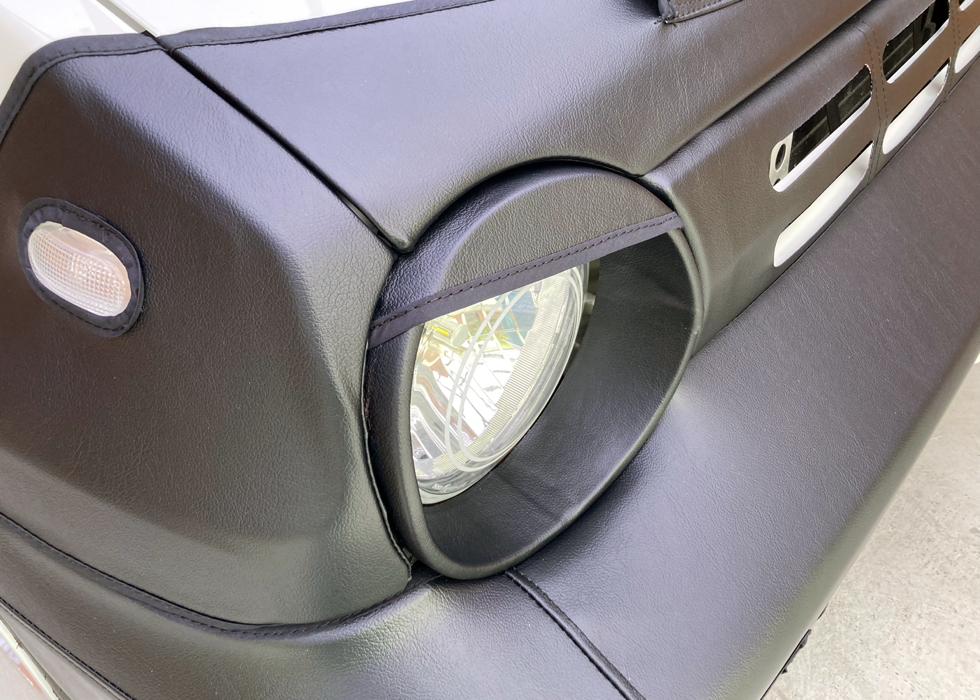
How do you like this face?
The connection with the bonnet hood bra is perfect!
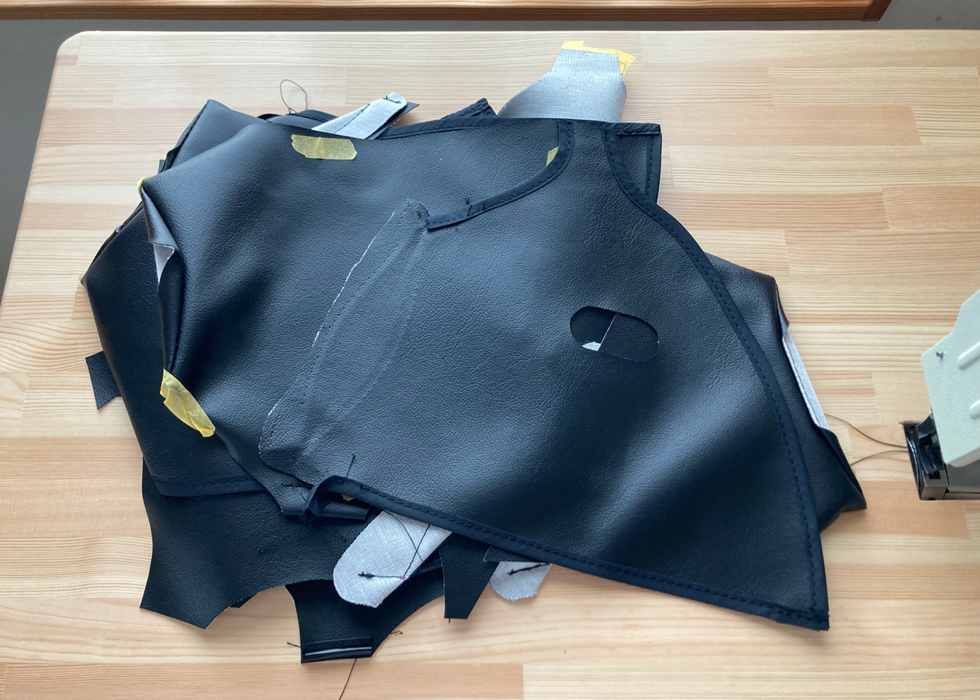
I remade this amount.
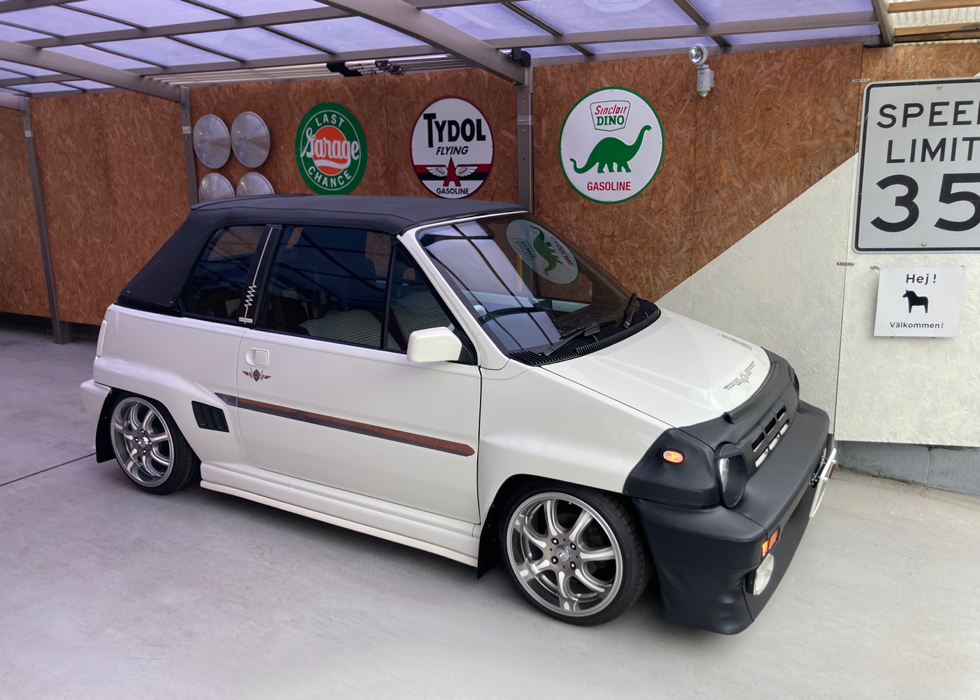
Finally finished the full mask! It took a lot of time and effort.
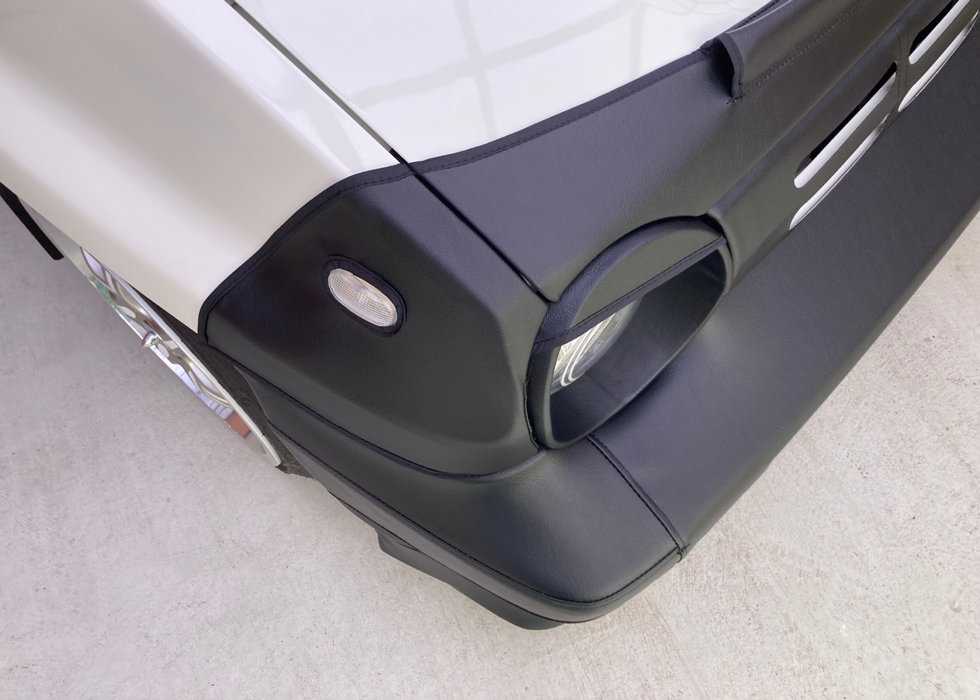
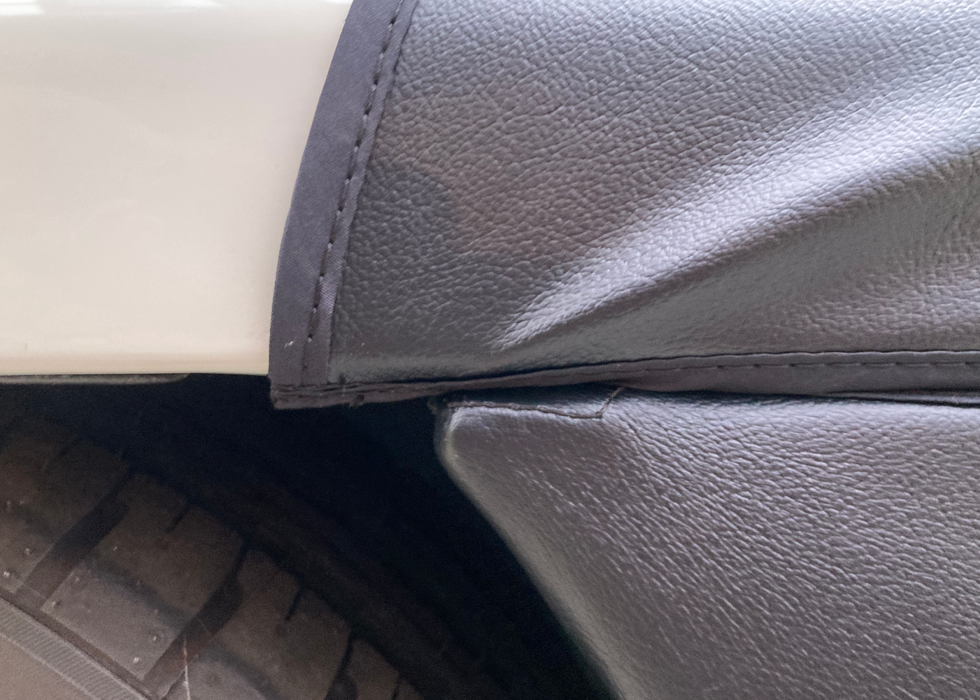
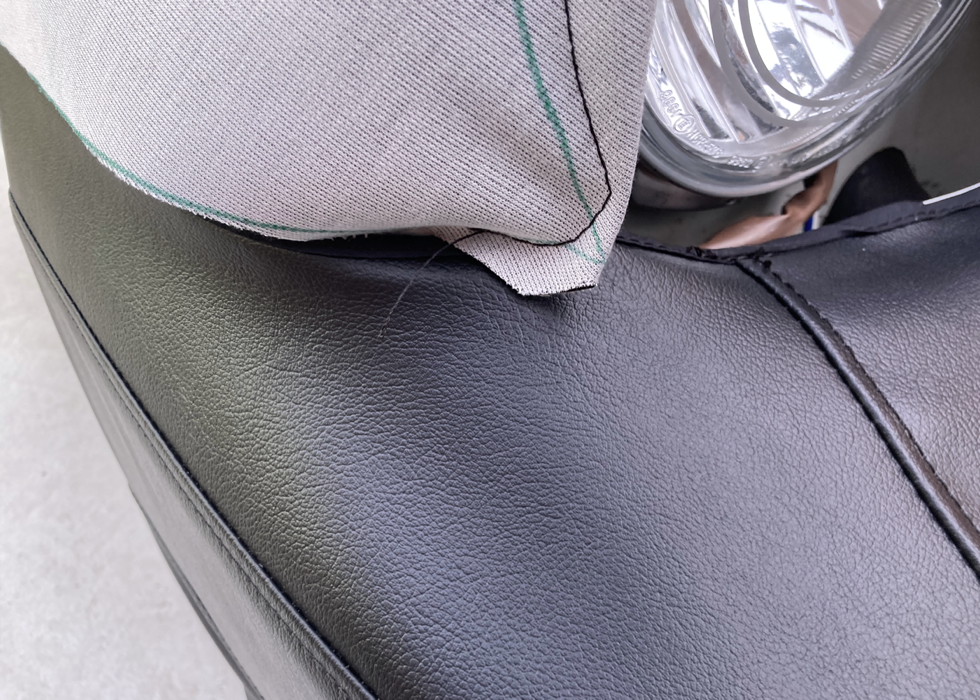
The fabric at the tip of the fender is a little twisted, but I hope that it will get used to it soon, so I complete it for now.
The fabric fitted the corners of the fender tips.
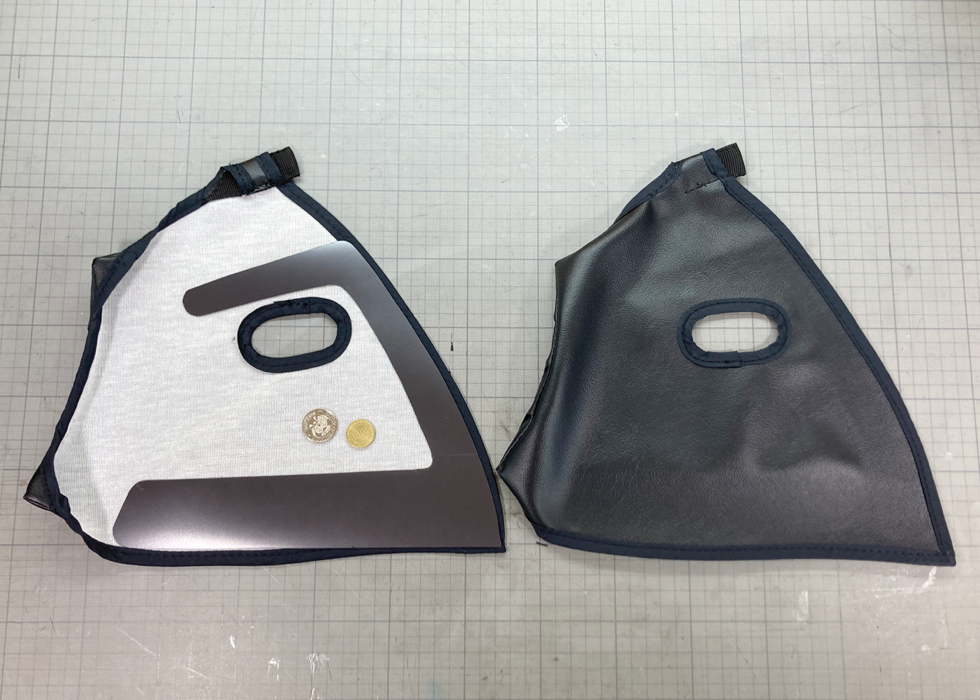
I decided to use a magnetic sheet because the concave surface would float when I pulled the fabric. The magnet sheet is attached to the fabric with double-sided tape.
A little adjustment is required, so I cut with a guideline.

It's taking shape. Even the blinker lamp openings match.

As expected, I've gotten quite used to working up to this stage.
How many times have I performed this task?
Adjust the shape again and cut out the fabric.
I tried to hook the lower side with a J-shaped mall, but it would get wrinkled.

The position of this corner does not match well.

I've made it this far, but I'm redoing it.

Because the fabric is pulled, the blinker lamp opening will be misaligned.

It doesn't match the shape of the fender tip a bit.
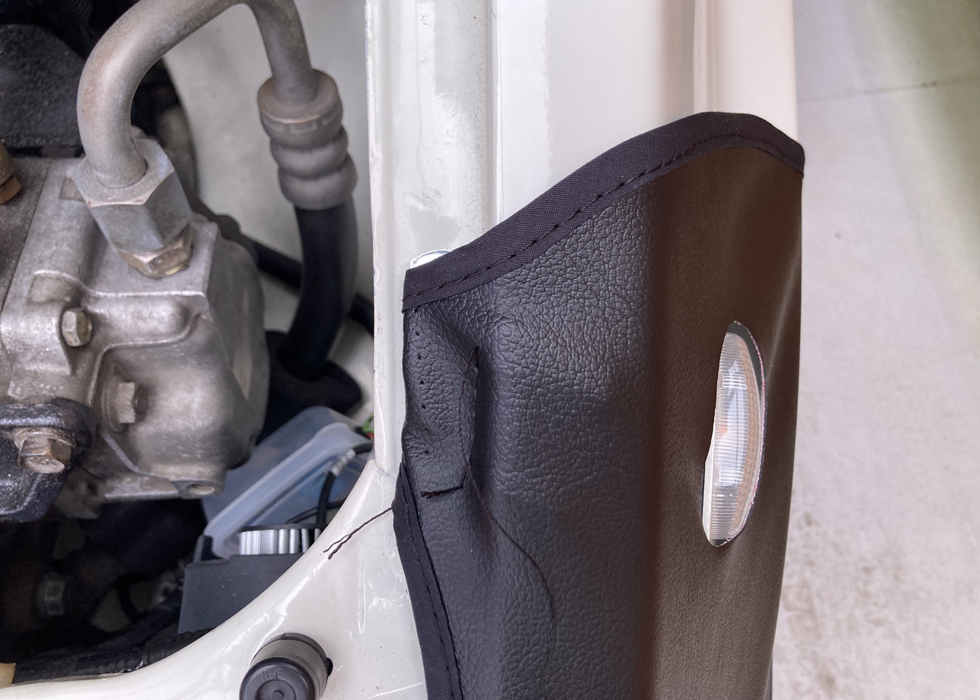
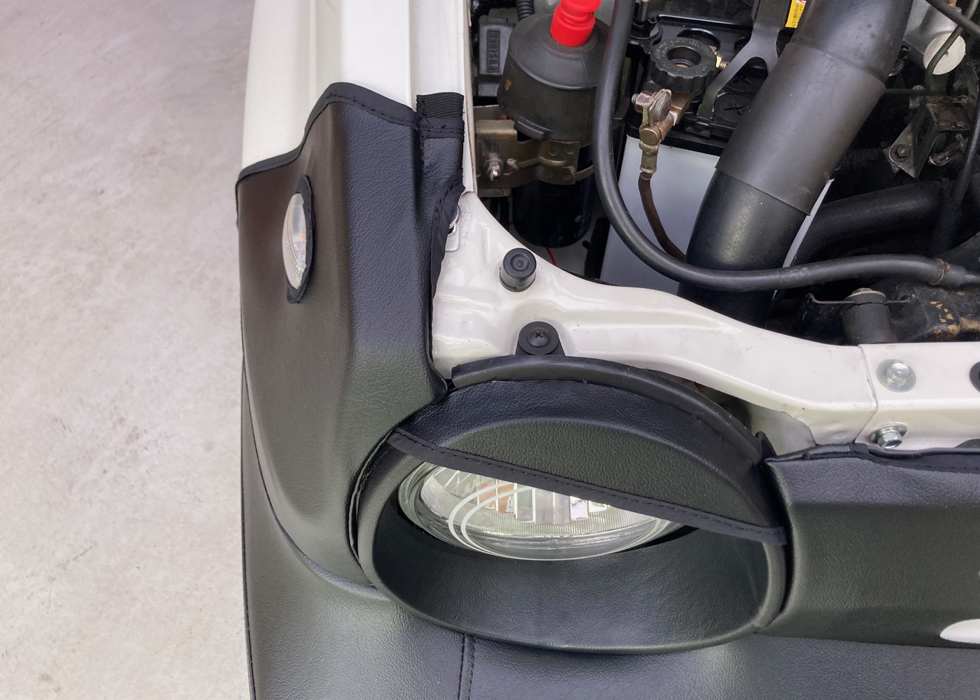
For the upper part, I fastened the stay to the bolt that holds the fender together, folded the edge of the fabric and sewed it, made it into a tubular shape, and fixed it by passing it through the stay.

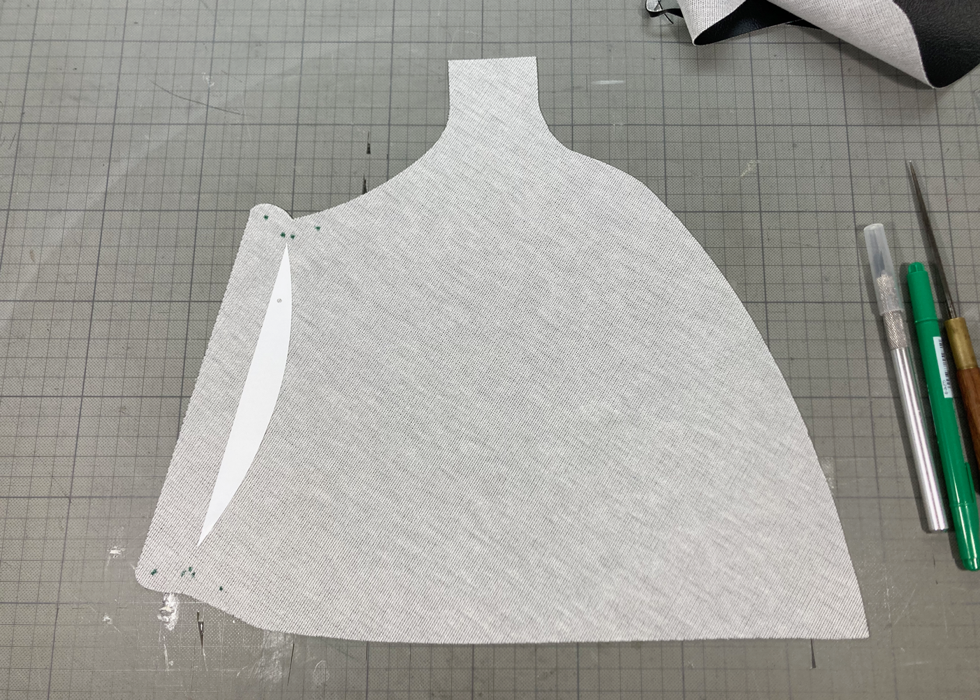
Arrange shapes and lines.
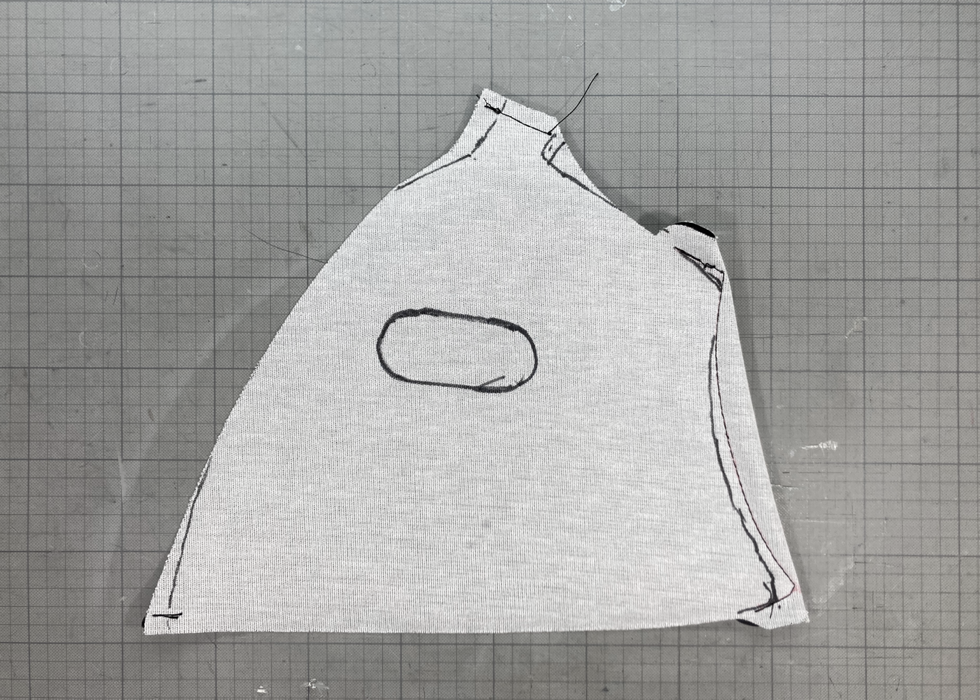
Take a picture and import it back into your computer.

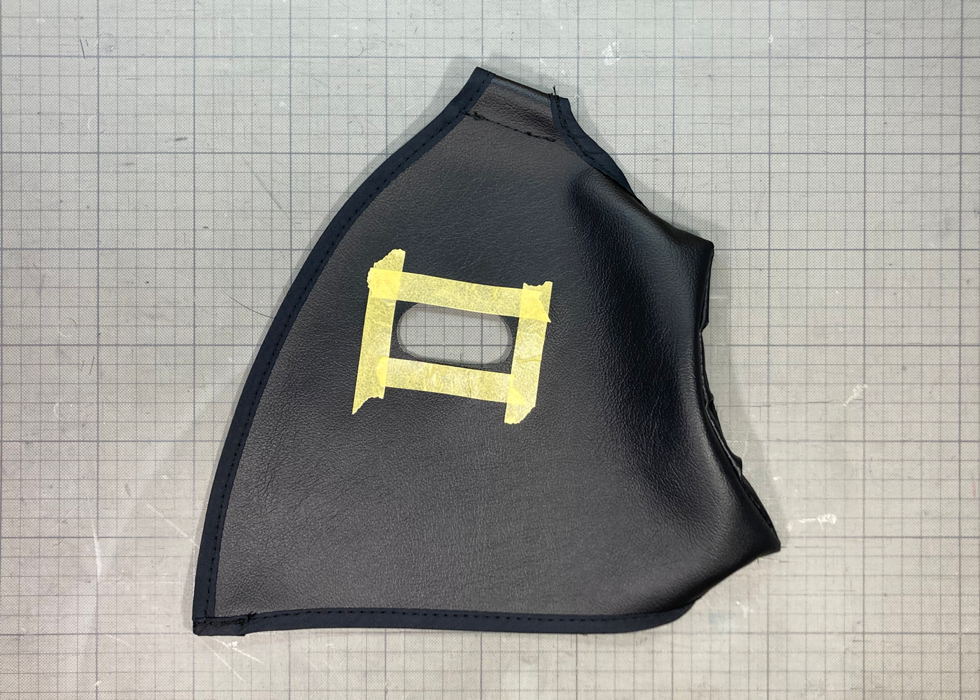
Cover the fender, check the shape, and mark the opening position for the blinker lamp.

Cut the seal sheet with a cutter plotter, paste it on the fabric, cut it, and sew it.
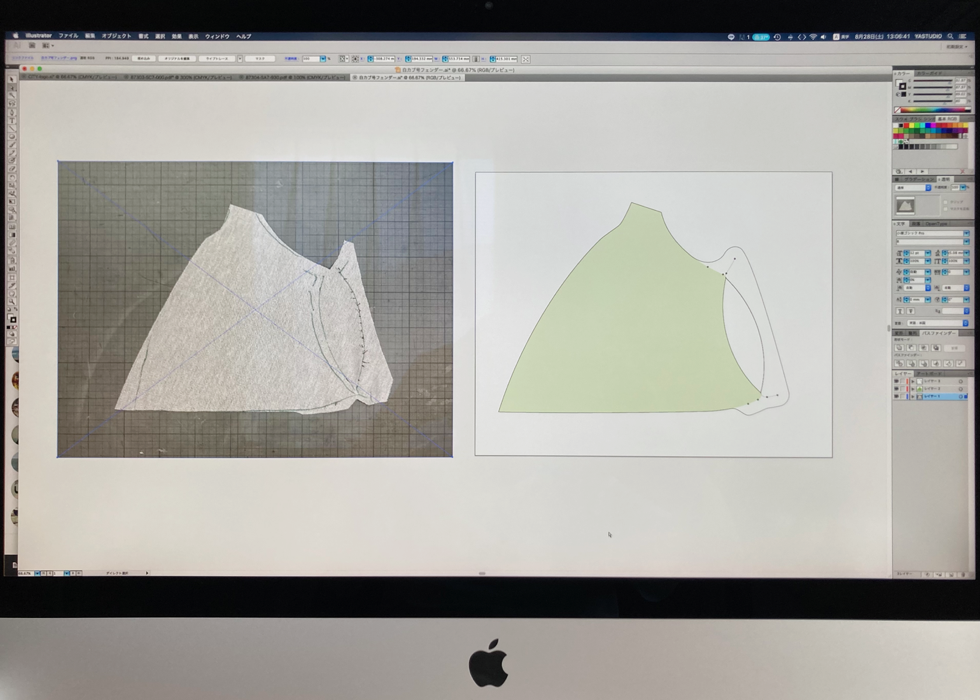
The seams are untied, opened, photographed, and imported into a computer for data conversion.
Sew according to the shape of the tip of the fender and cover it.
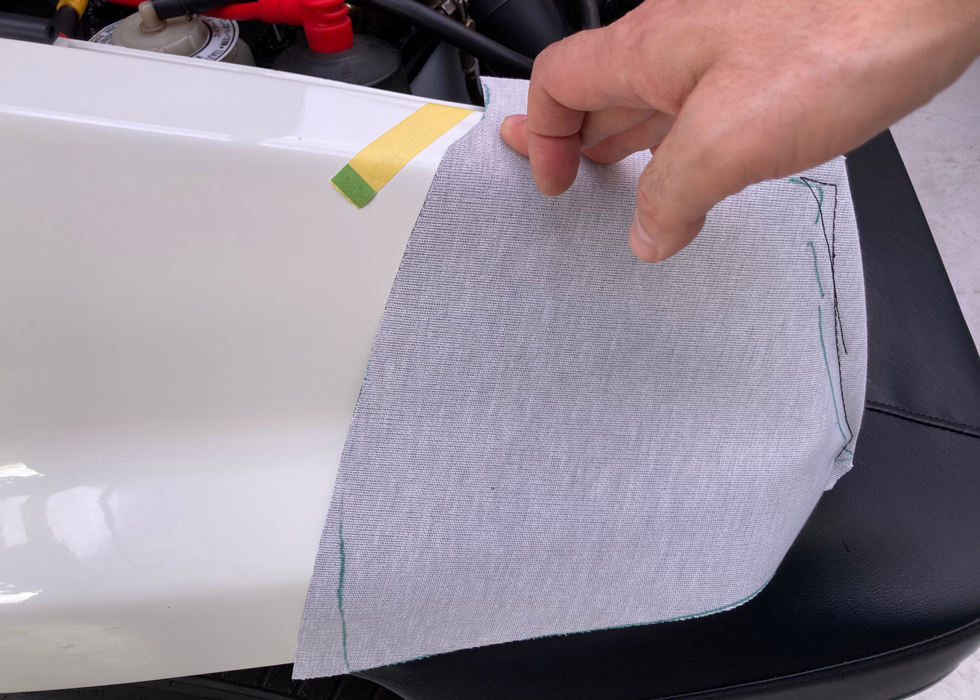
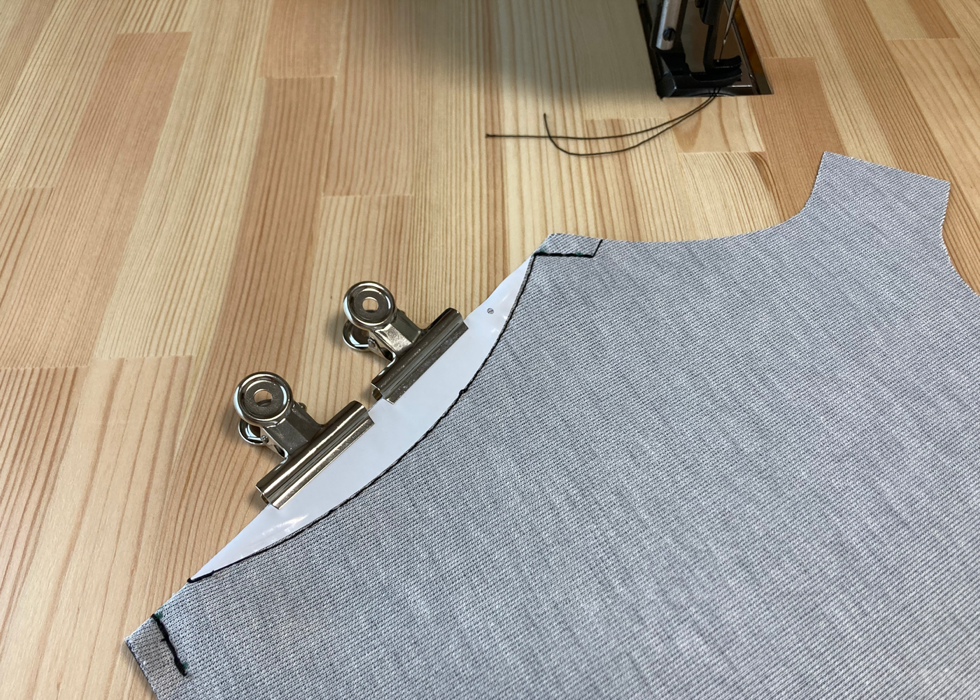
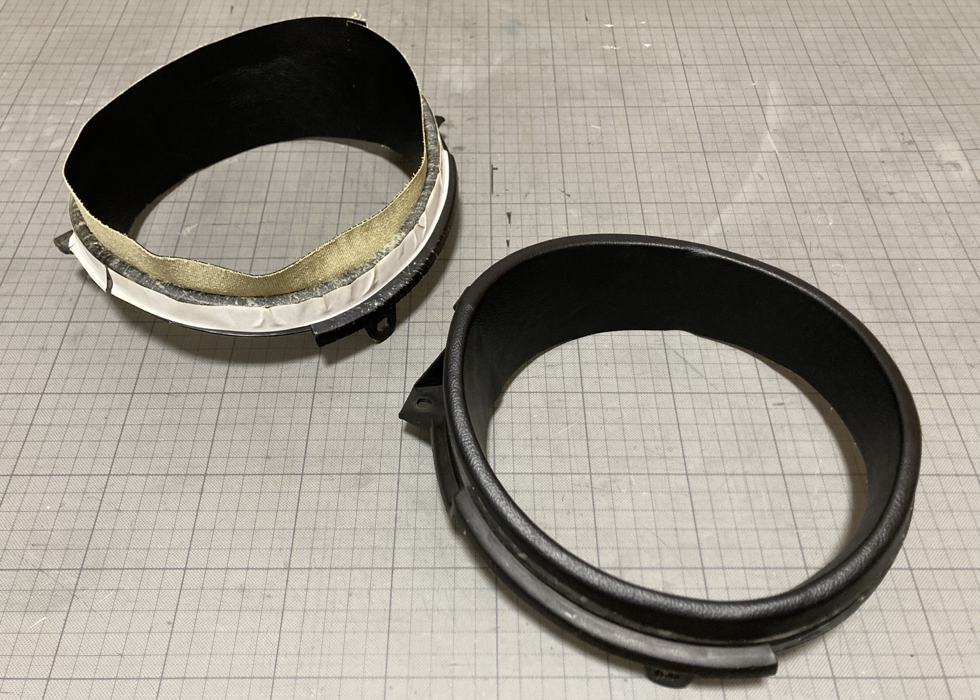
I'm finally working on the final part. First, apply the fabric and take the rough shape.

Attach the board to the rim of the headlight, cover the edge of the fabric with bias tape and stick it there.
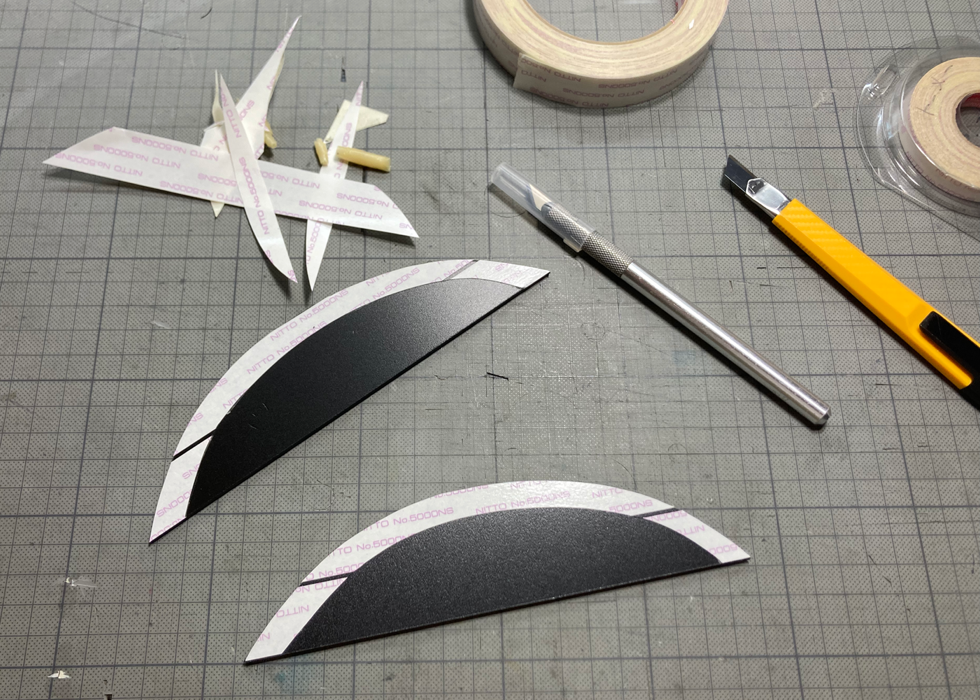
I also put eyelids on it.
Stick it from the inside, fold it back and stick it on the outside.

Spray glue is applied to the fabric cut out along the shape of the head light rim.
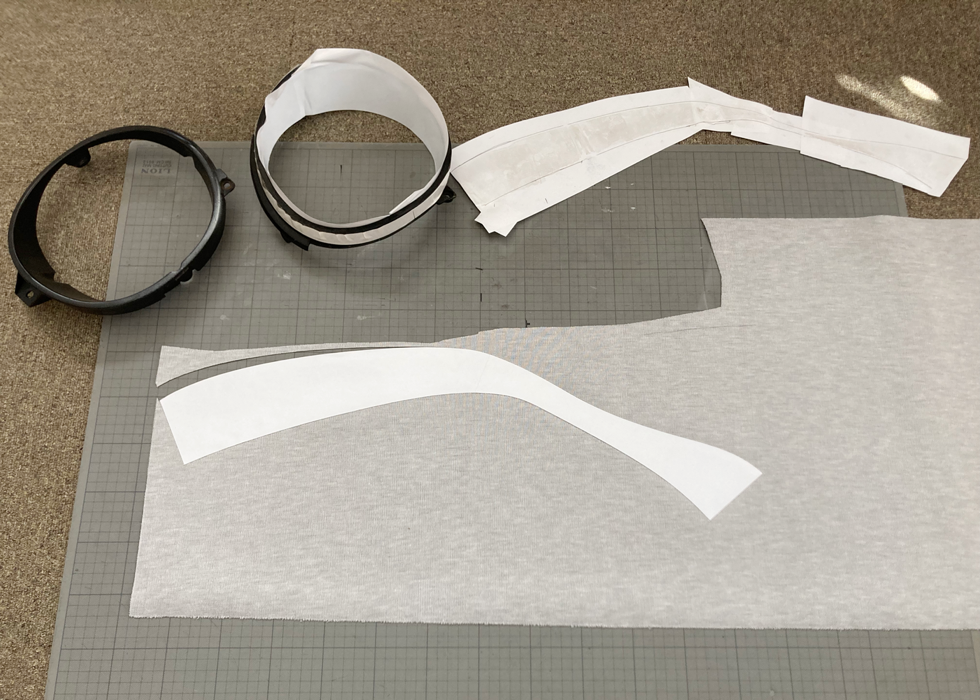
First, cover the headlight rims with the same fabric.
