« HONDA CITY CABRIOLET TURBO2
27. Bonnet&striker cleaning
26. Wire tuck right side
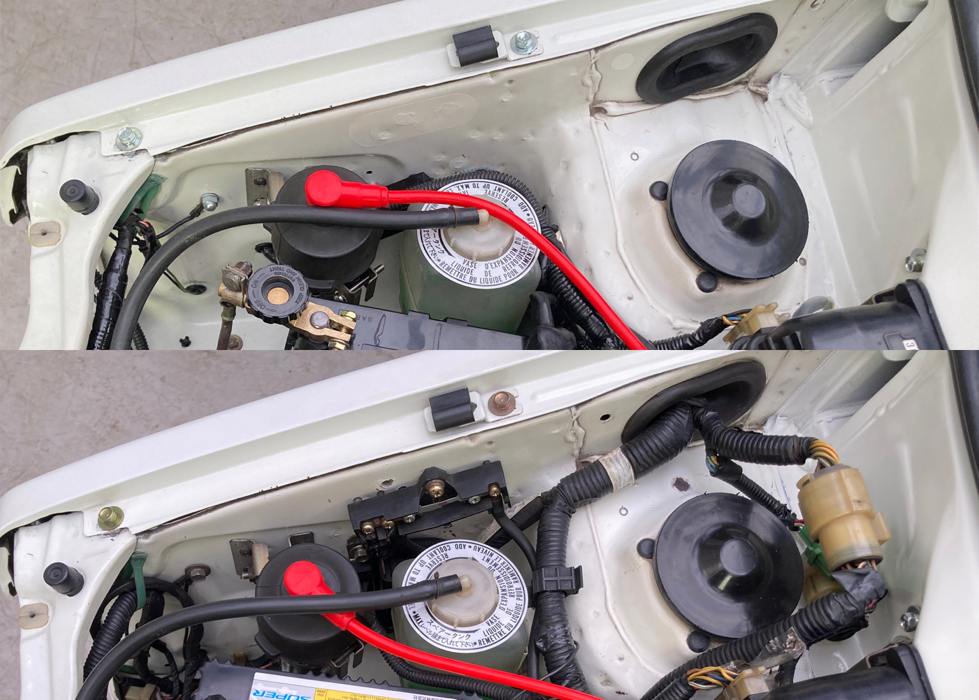
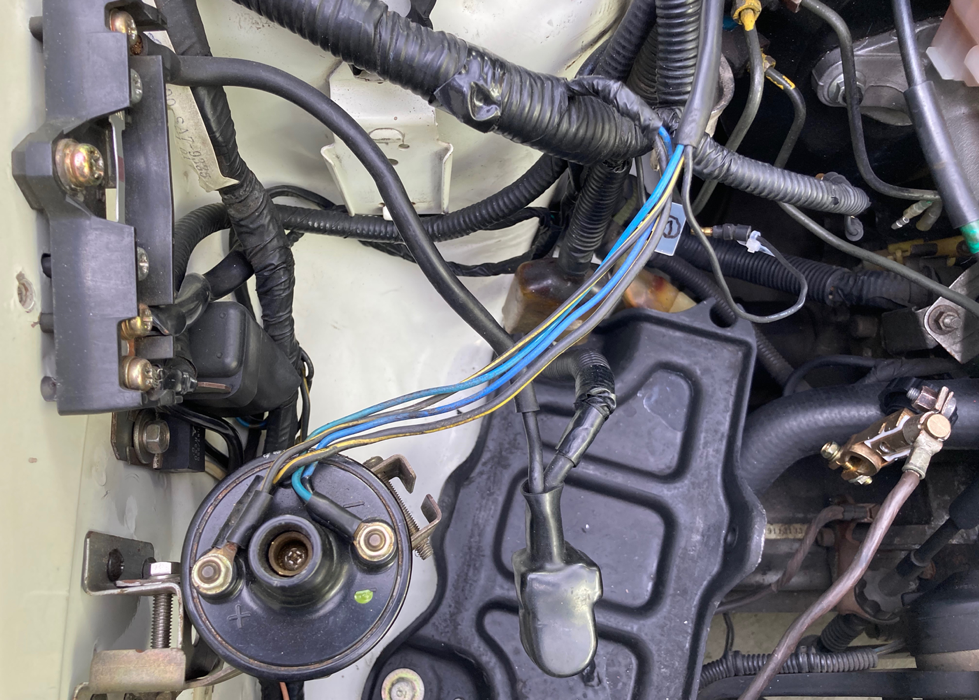
Since the left front was completed, I also tried the right, but it was a tough task. There are many electric lines, some long lines reach the left headlight, some are not long enough to pass through inconspicuous place. I considered the wiring line, and tried several times, extended the wire that was not long enough, and changed the position of the main fuse. It’s inconspicuous but it was a highly satisfying custom.
Before / After. Wire tack completed!
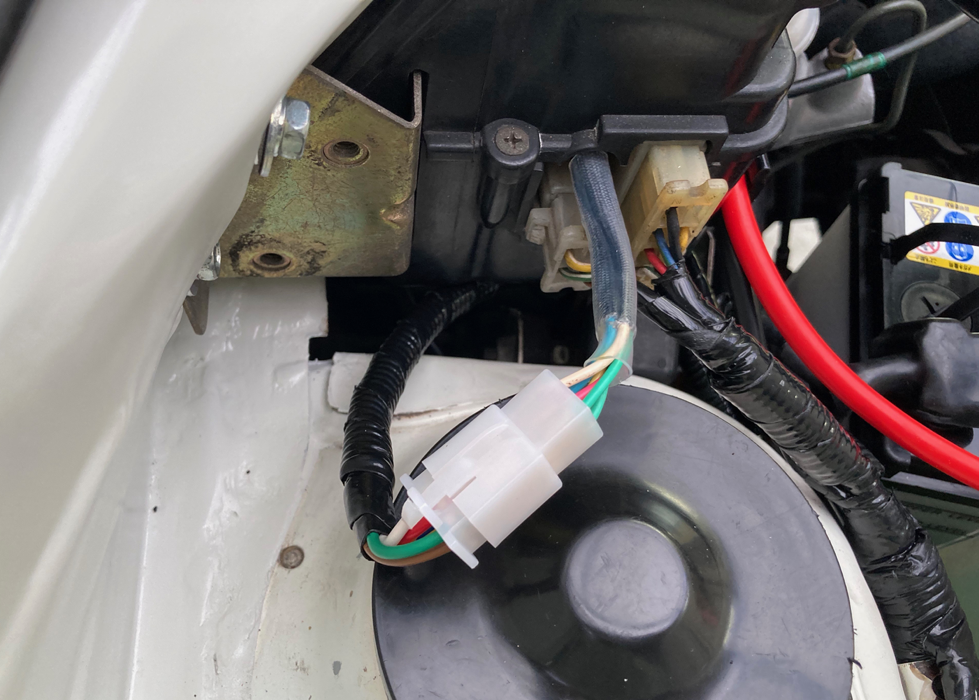
Pull the connector down to hide it.
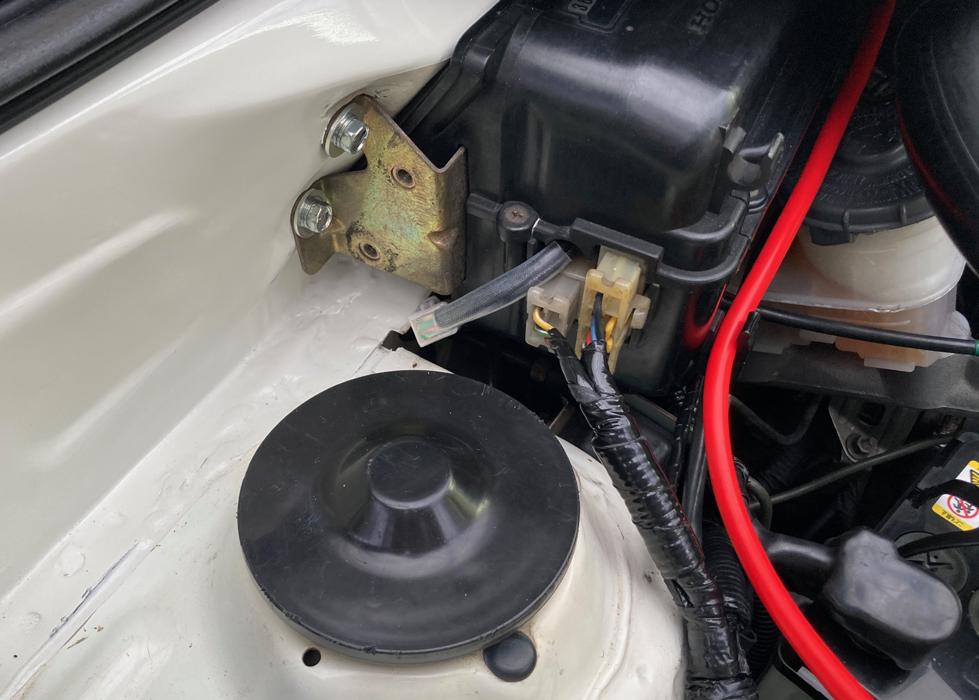
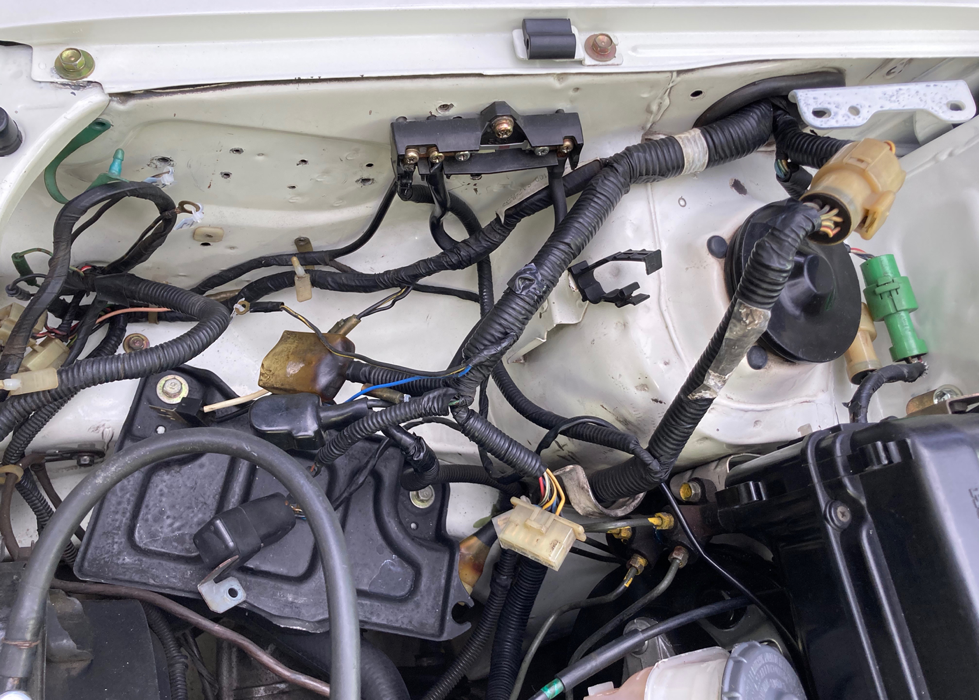
Route the cable from the bottom and connect it to the control box.
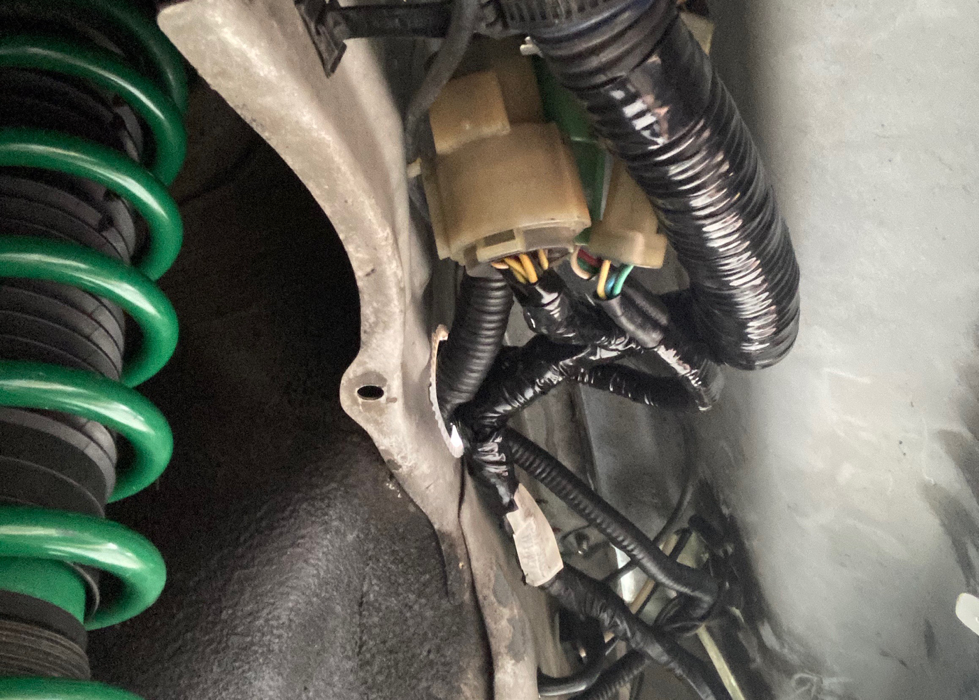
Although it is hidden, there is the connectors in the back.
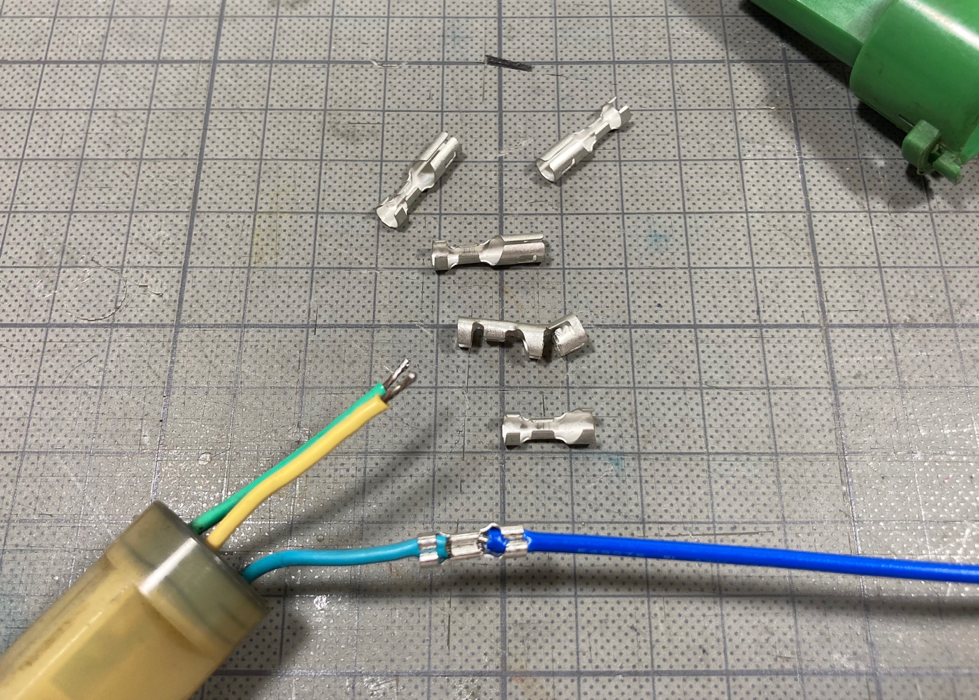
I put together the cables.
Use the original connector to connect to the controller side.
Extend the cable to bring the connector inside the fender.
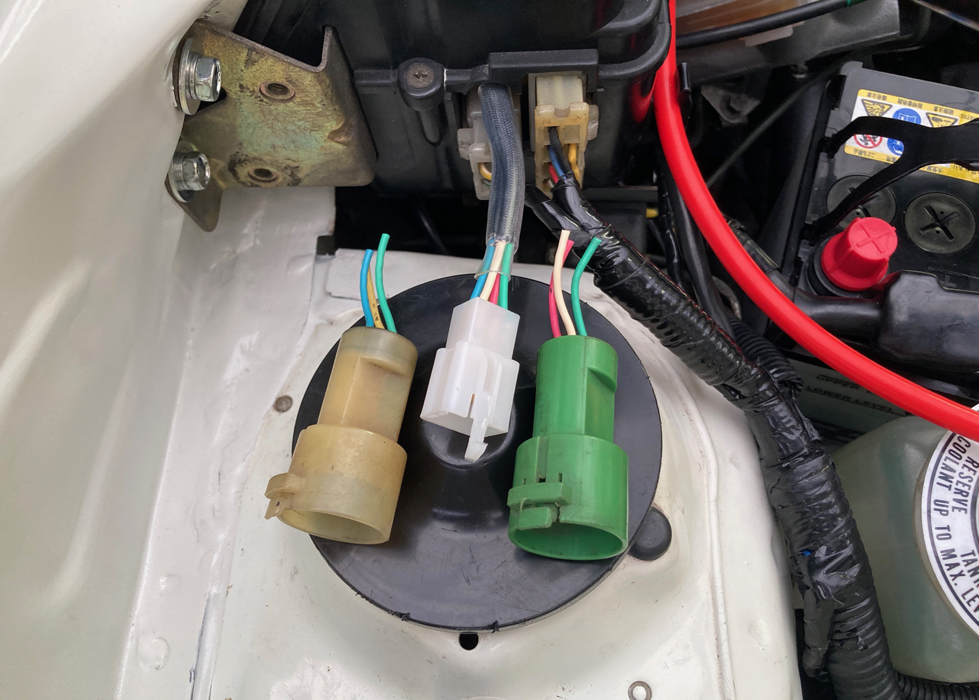
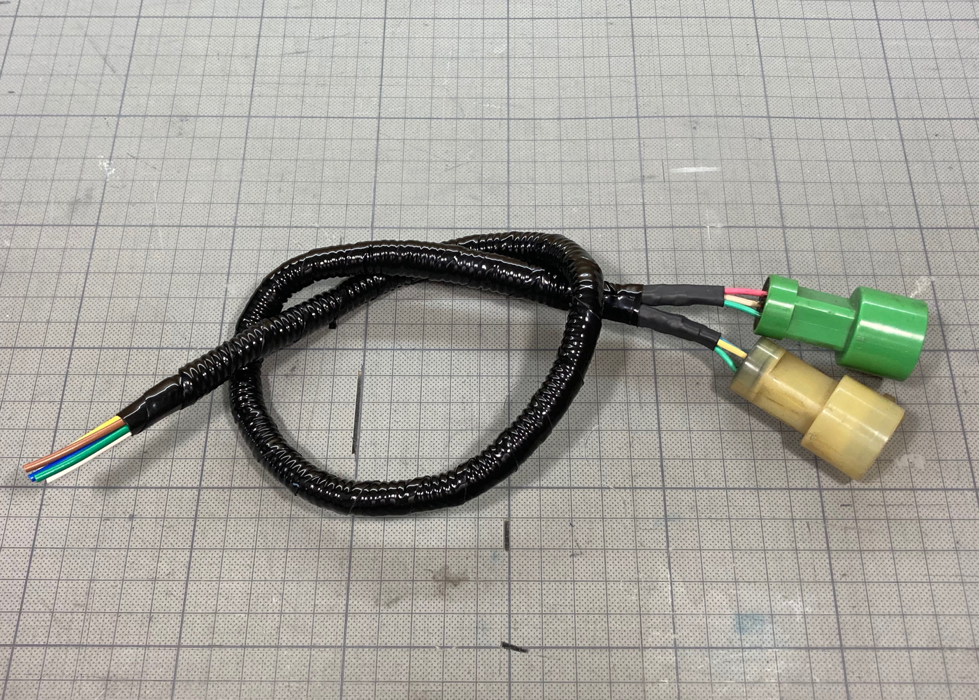
The two large connectors have been combined into a smaller connector.
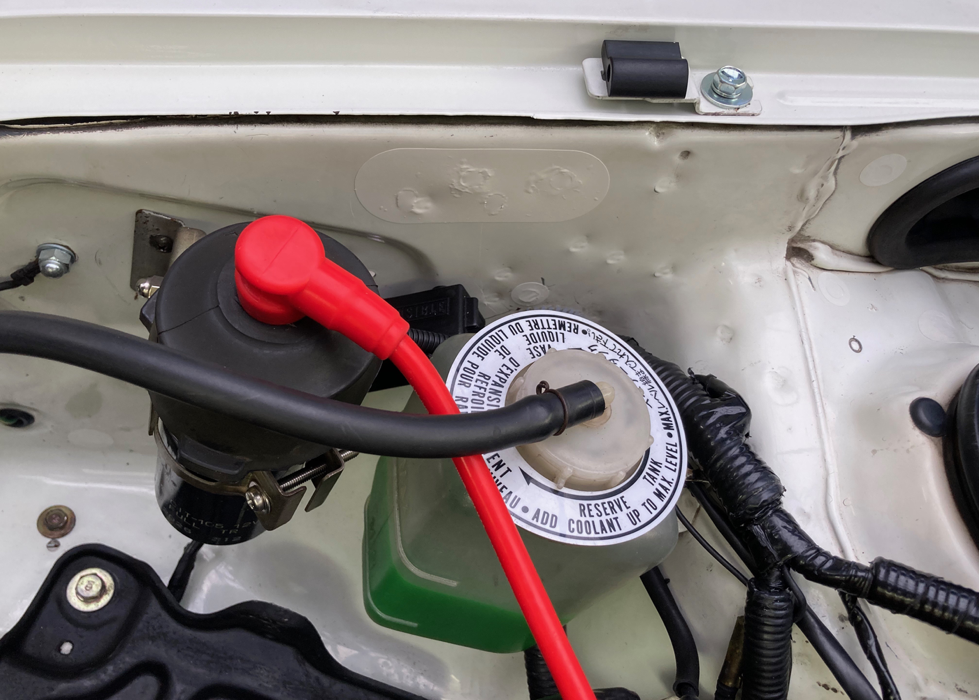
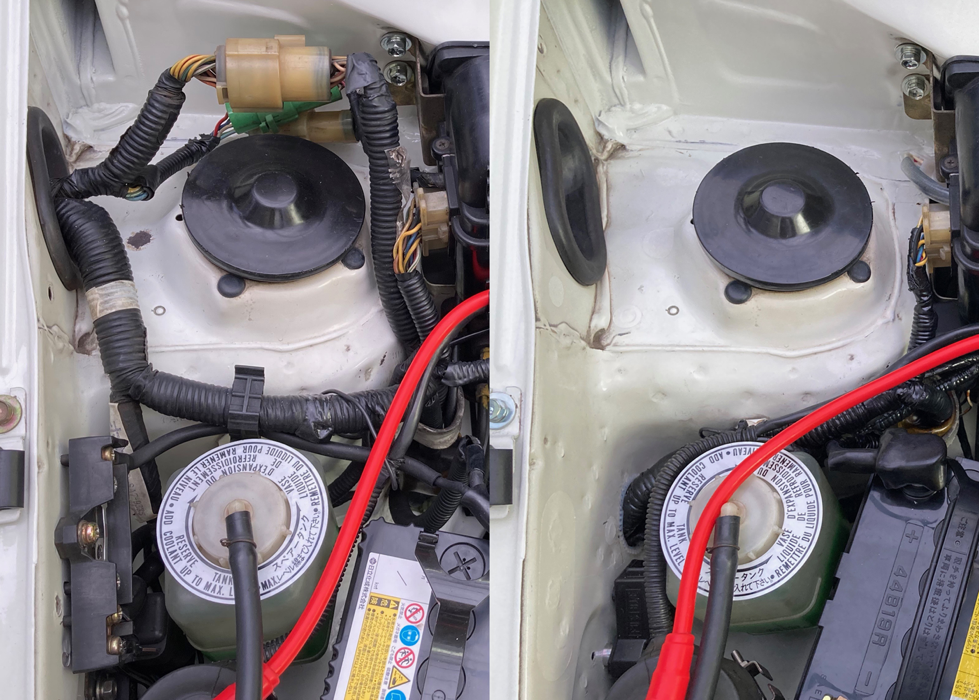
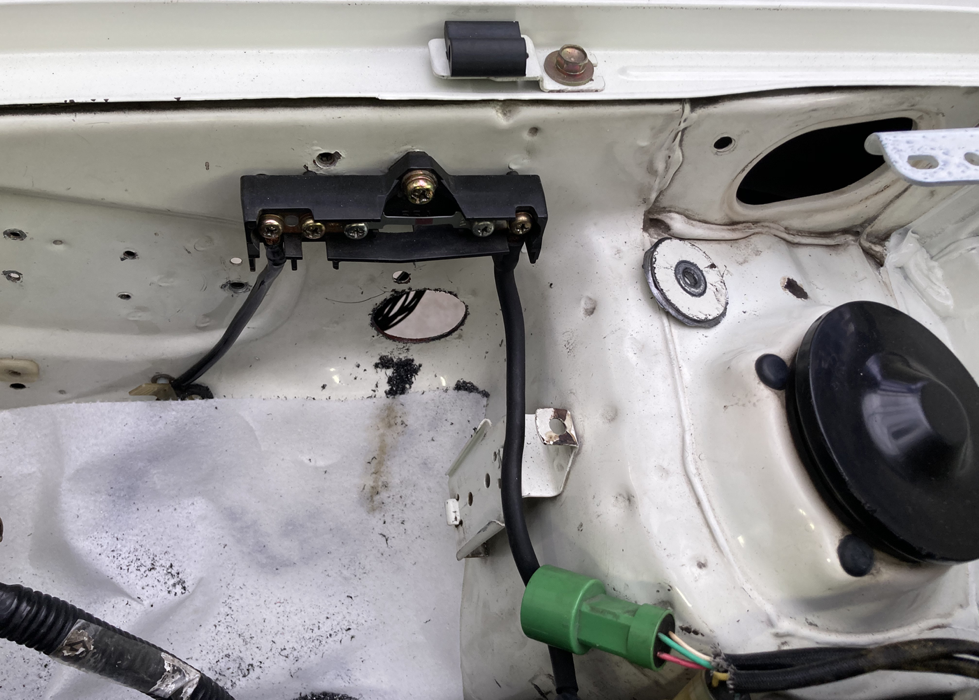
The cable entry hole is hidden behind the reservoir tank.

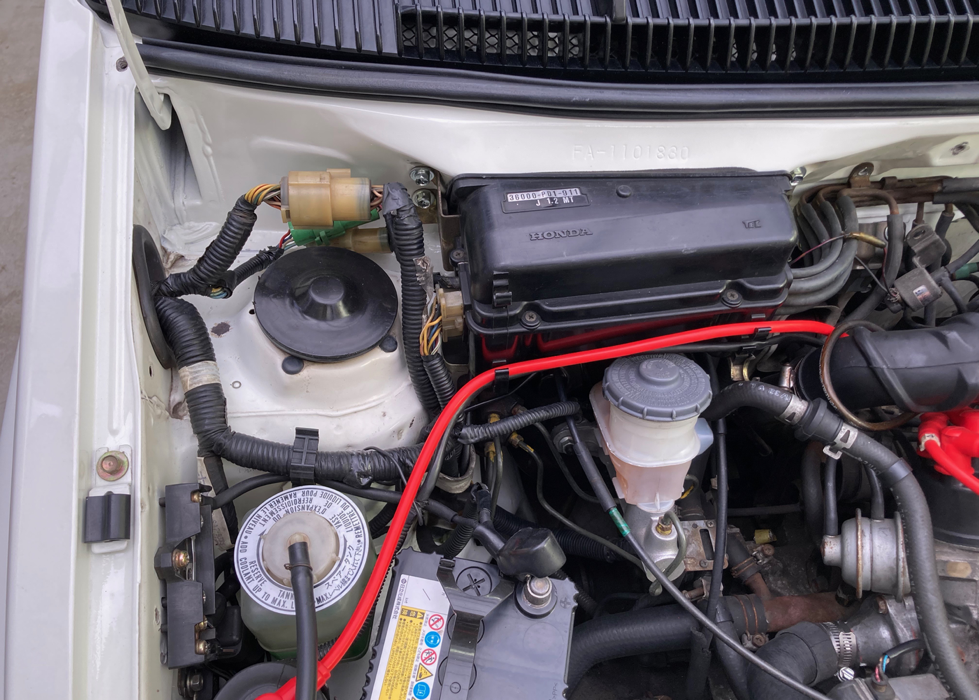
I putting back the parts that were removed.
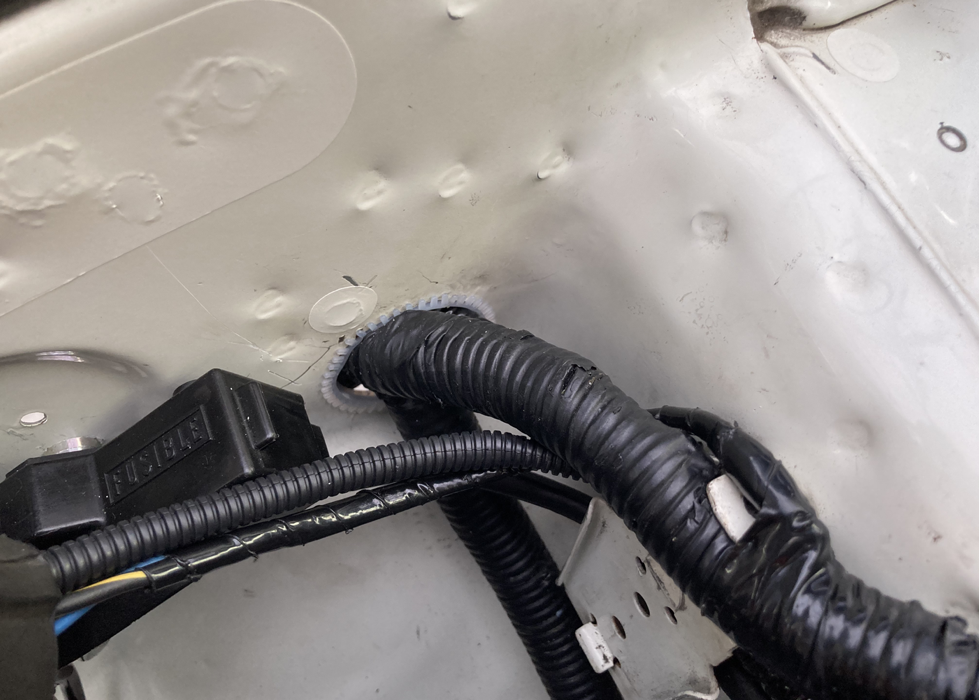
Pull the necessary cables into the engine compartment through the holes you made.
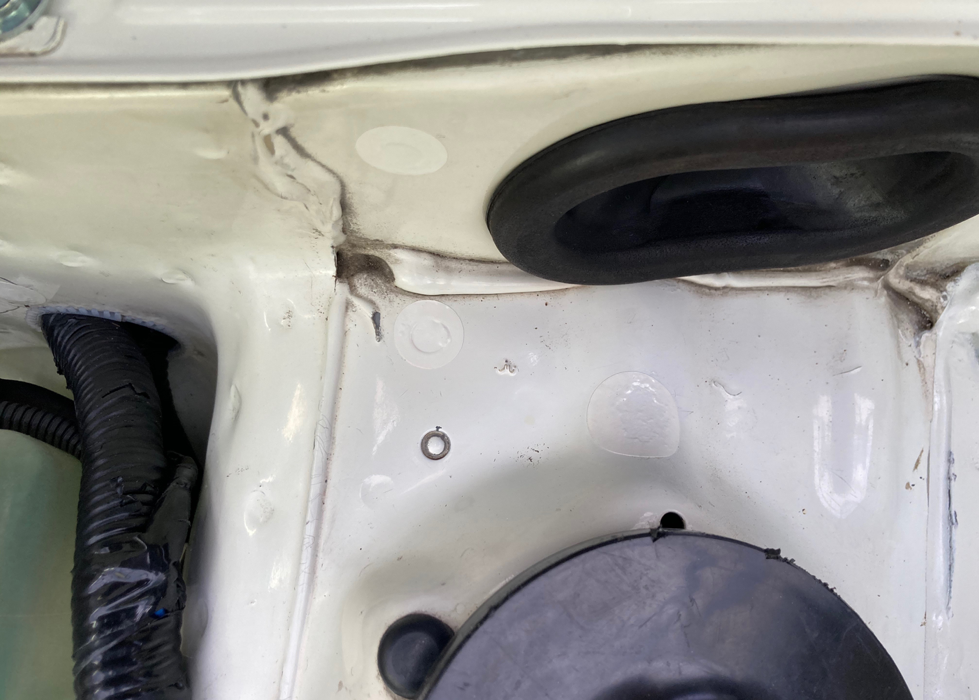
Seal unnecessary holes with seals. This seal was cut in a circle with a cutter plotter and painted in the body color.
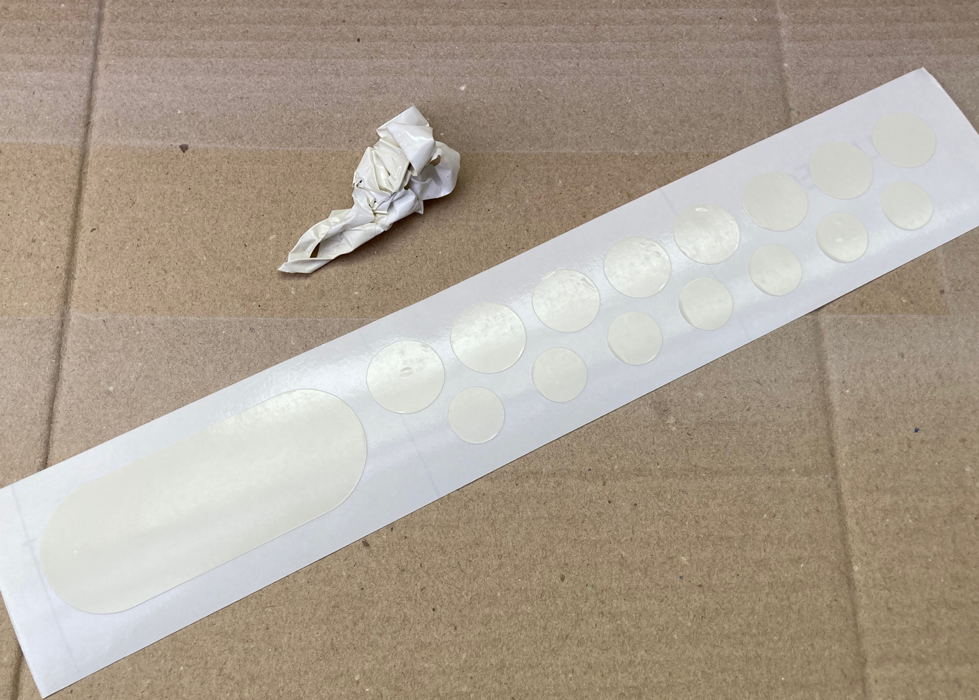
I made a seal that covers the countless holes inconspicuously.
Drill a hole for the cable to run through in a discreet location.
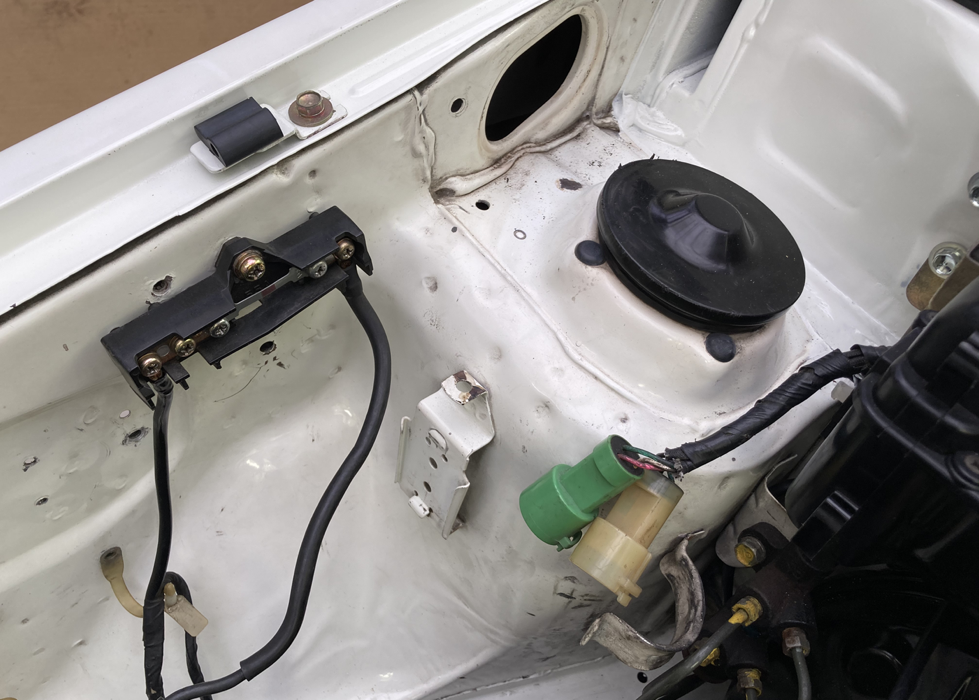
Leave the main fuse halter on the engine room side.
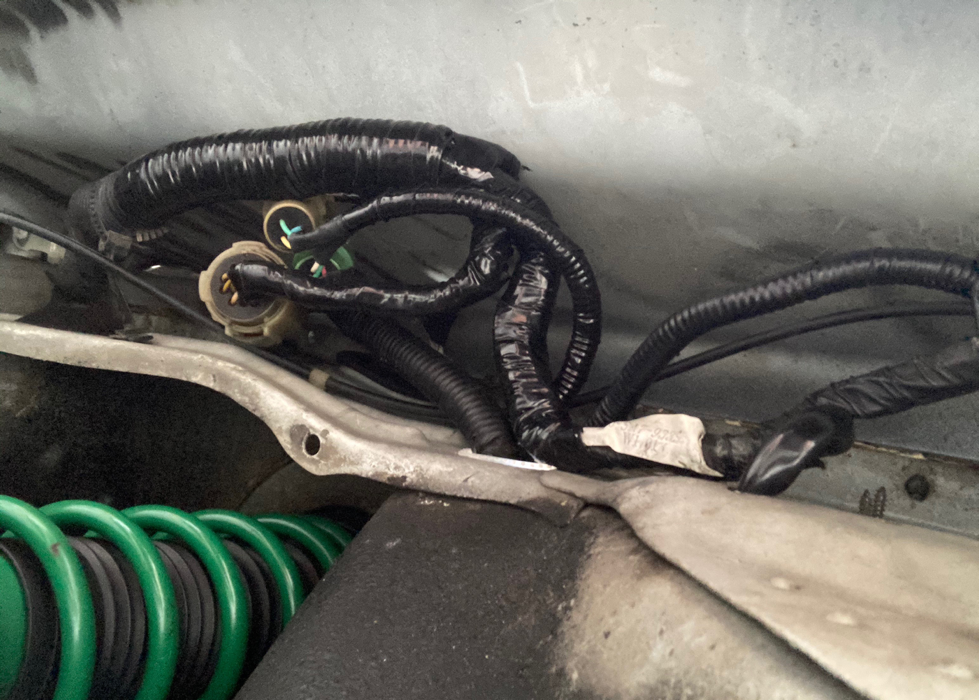
Place the cable and connector behind the fender.
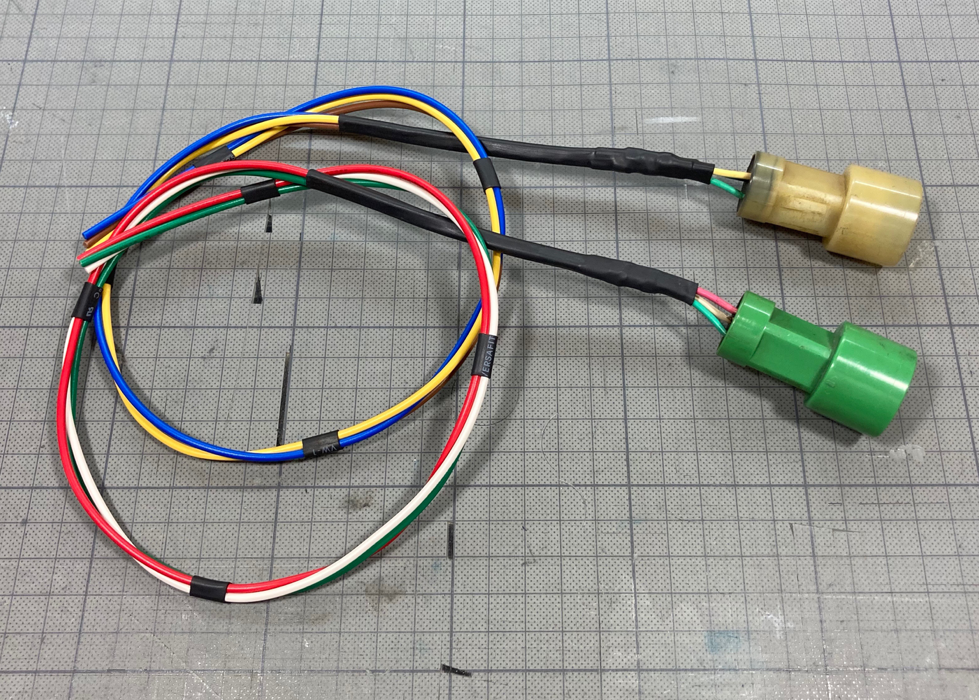
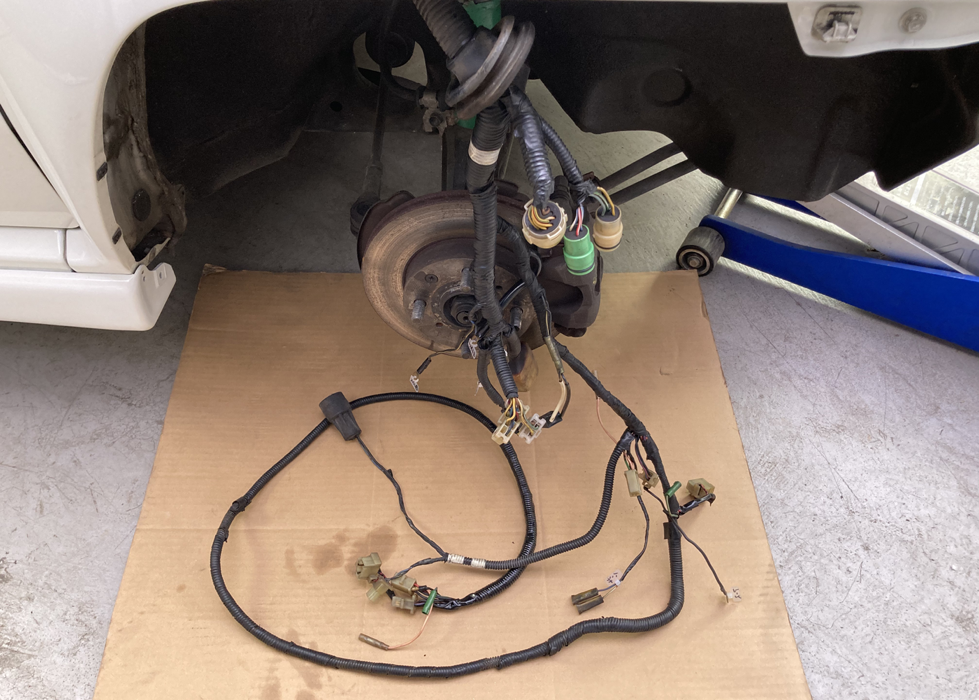
Organize the cables according to their destination.
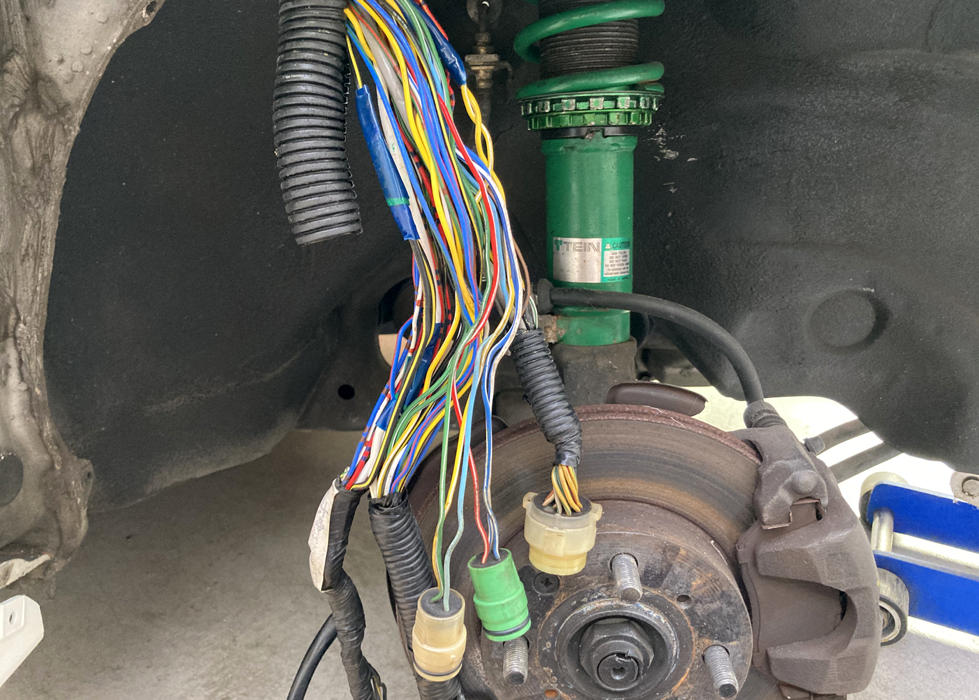
That's a huge amount of cables. They are all different colors and pattern.
Pull out the cable that was in the engine room to the fender side.
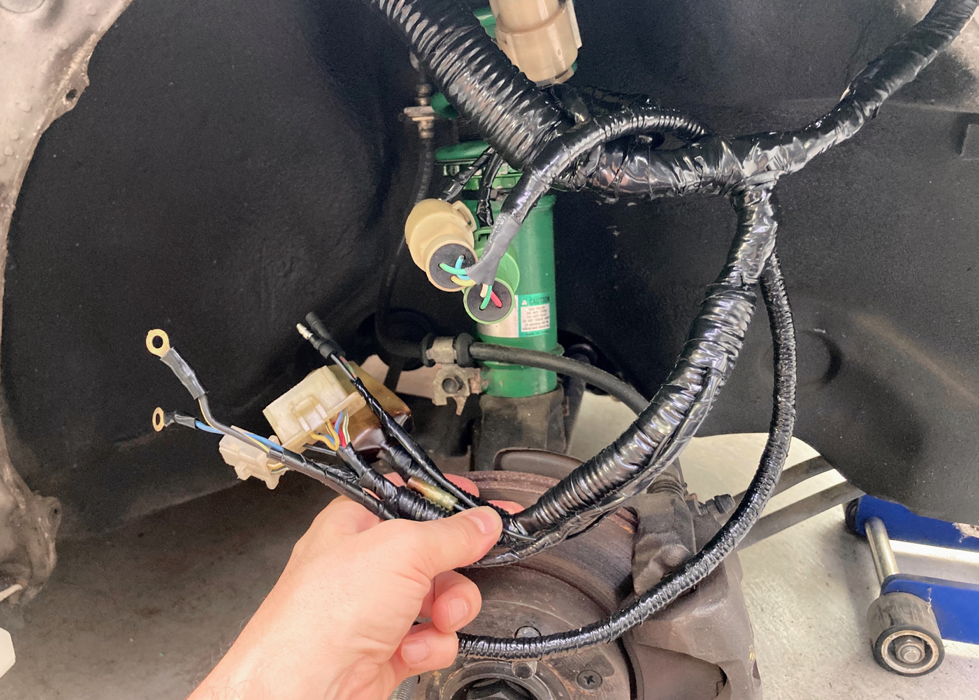
Remove each cable from its destination.
Remove the peripheral parts and check the wiring.
This is what the original looks like.