« HONDA CITY CABRIOLET TURBO2
30. Paint the air cleaner cover
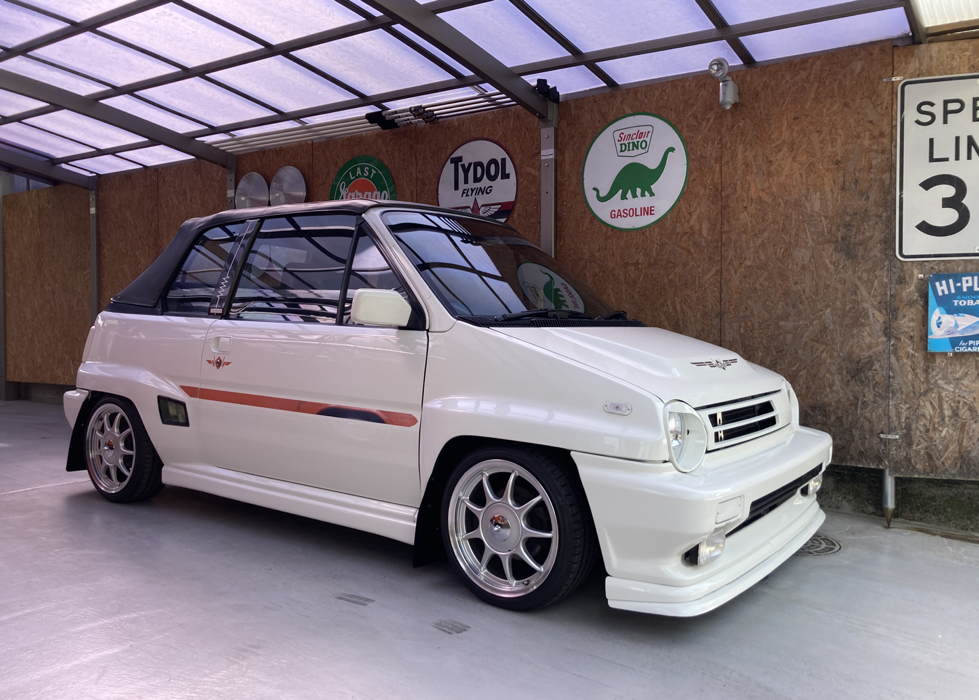
29. Front bumper&spoiler repaint
The rear bumper & spoiler and side skirts have been completed, and the area around the engine room has been cleaned up, so it's finally time to repaint the front bumper & spoiler.
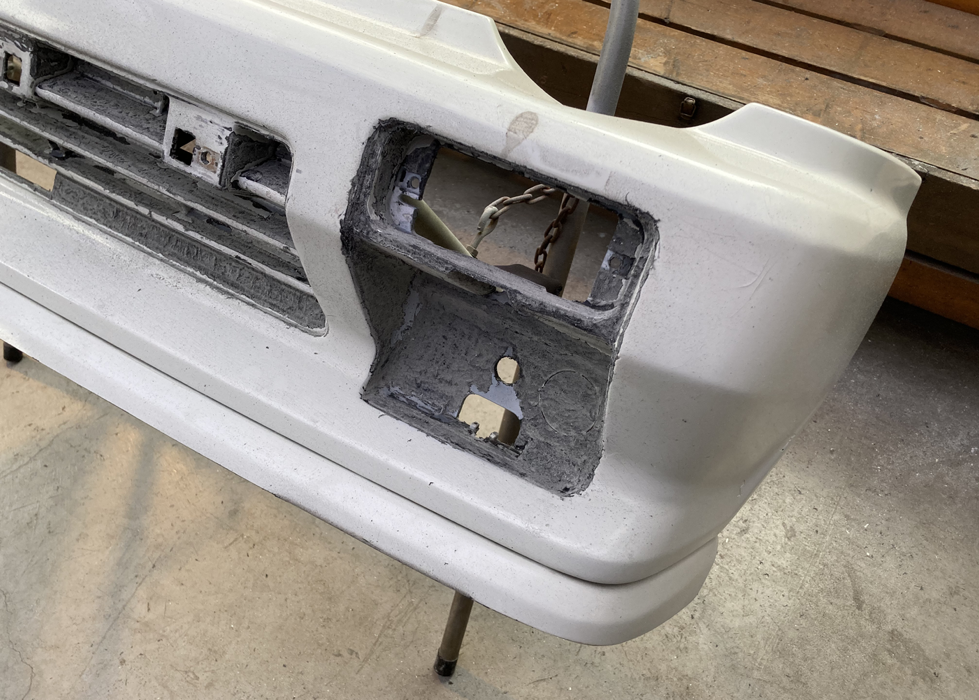
There were some cracks and some parts that had come off, so I scraped off those parts until the base came out, and repeatedly polished and surfaced them using thin putty and plastic suff. This work is very difficult!
Until now, it was all white, but this time I made the air intake area black by referring to the genuine coloring.
Install the second lip spoiler that was painted separately.
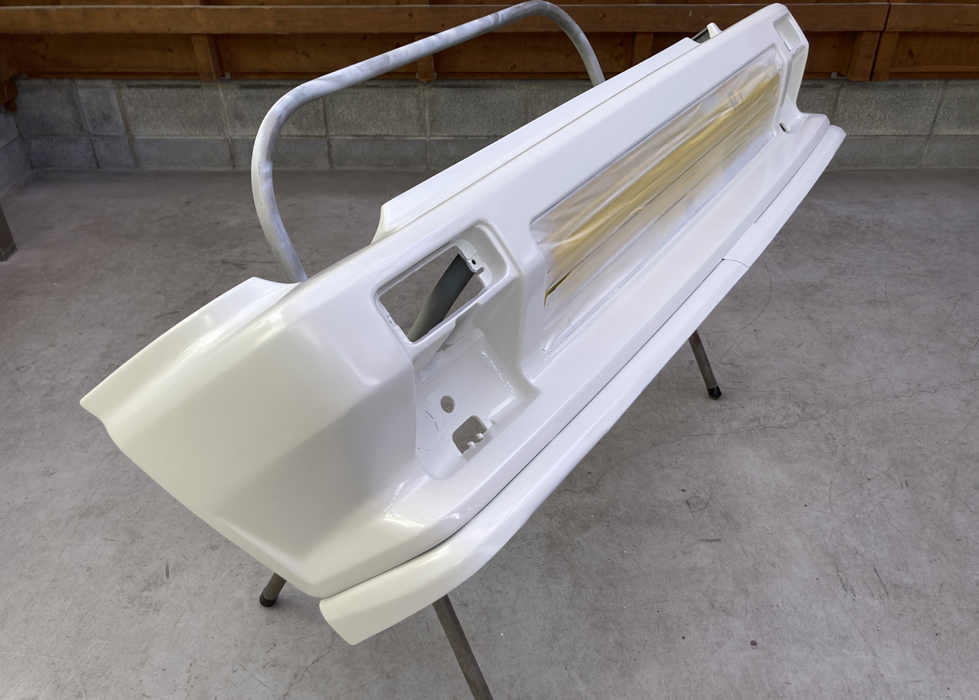
Finally, finish painting except for the opening.
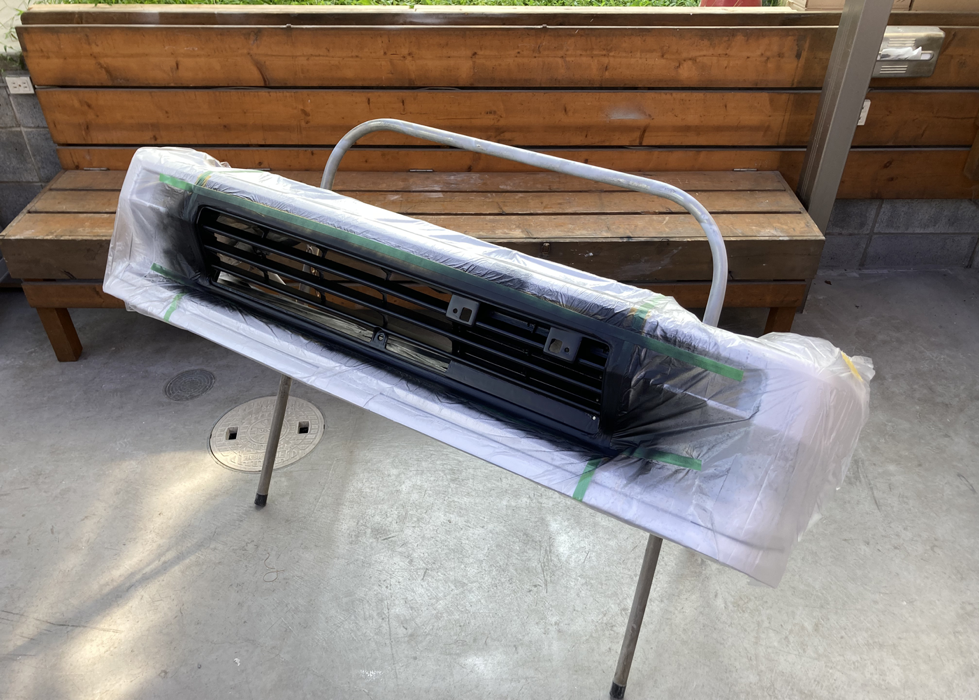
The opening is painted in matte black just like the genuine parts.
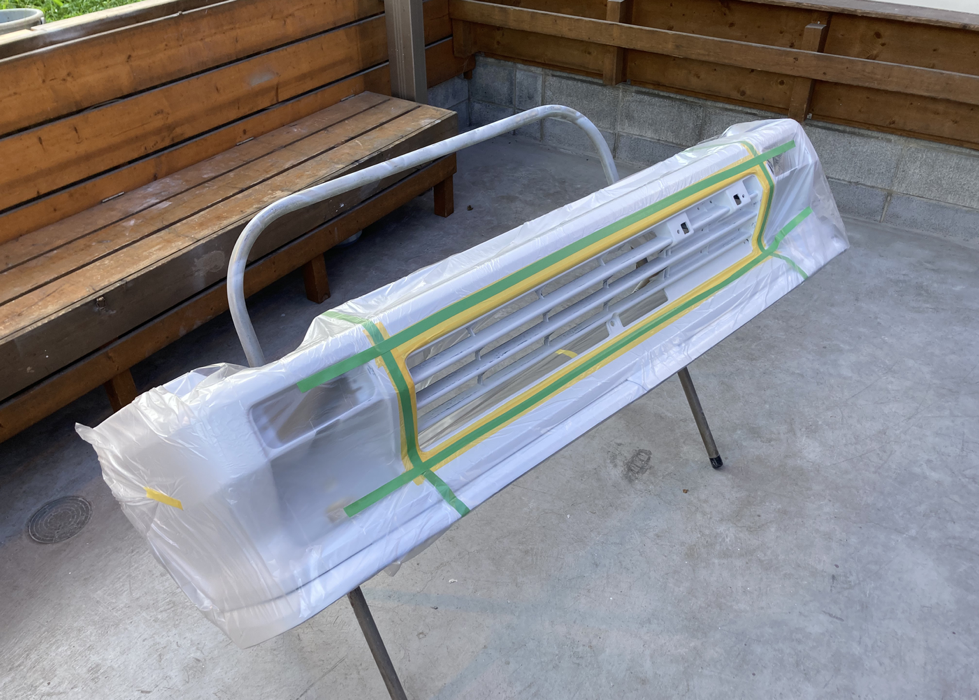
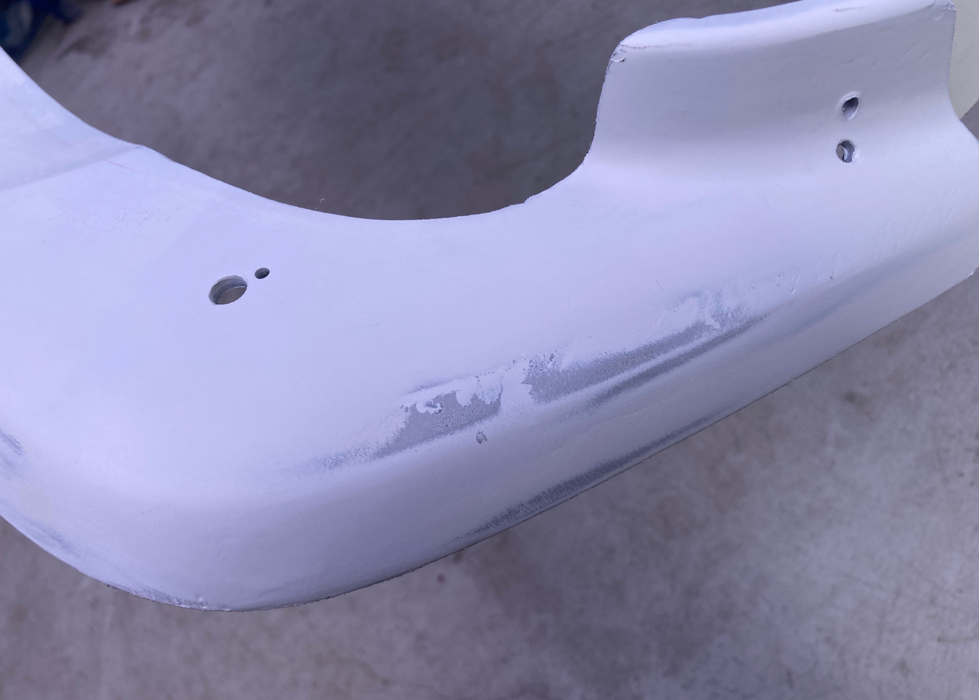
After the entire undercoat is finished, mask it off.
Apply the primer and surfacer and polish it to prepare the surface.

Finished scraping. This work was really time consuming.

You can see the paint layer.
Next, I work on all painted surfaces.

It was a lot of work.
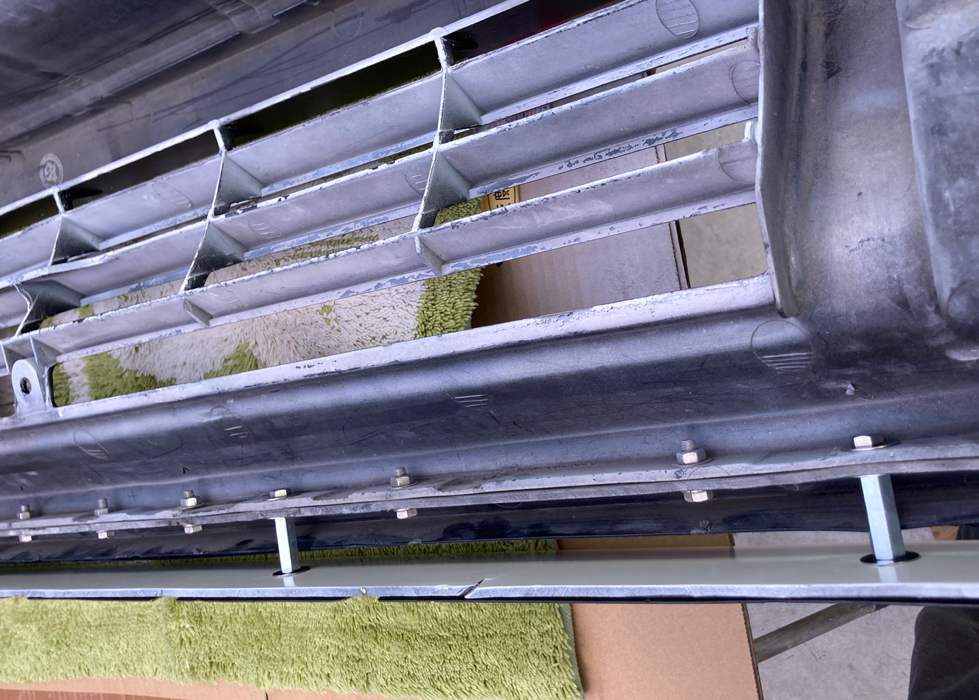
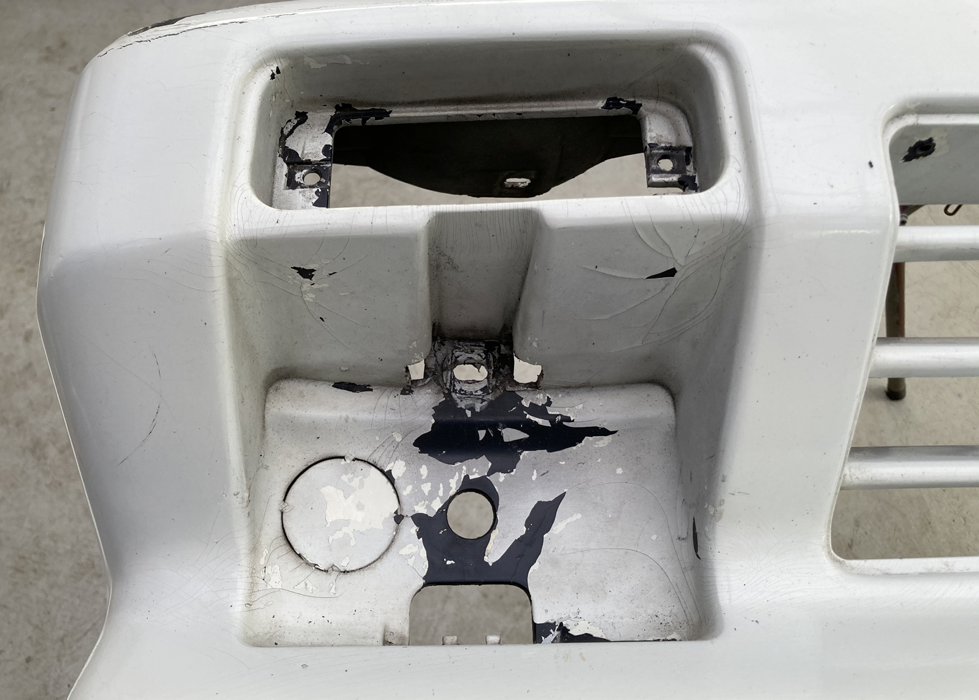
Next, remove the paint from the opening grille.
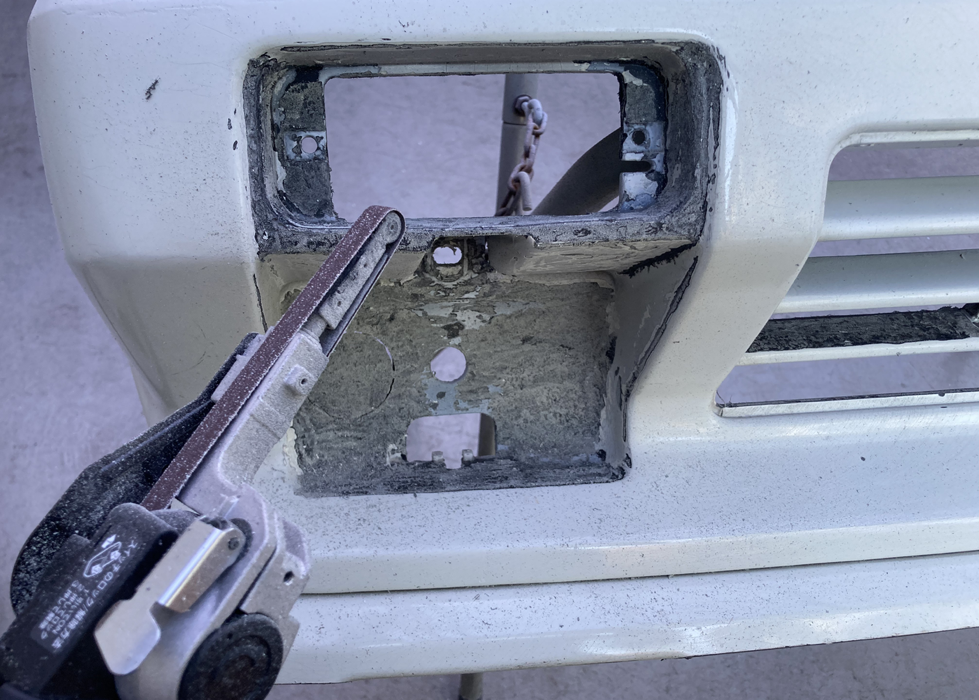
The paint seems to come off easily around here, so I scraped it off until the base came out.

Finish the second lip spoiler first. Scrape, paint, and repeat to prepare the surface.
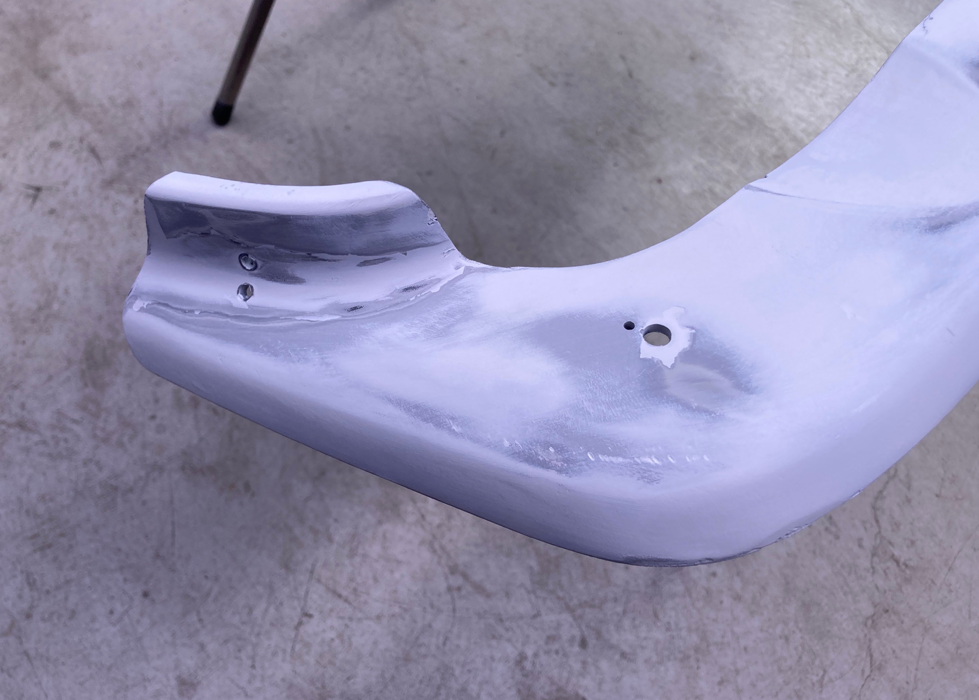
Polish the surface as close to the base as possible so that the painted surface will not crack later.
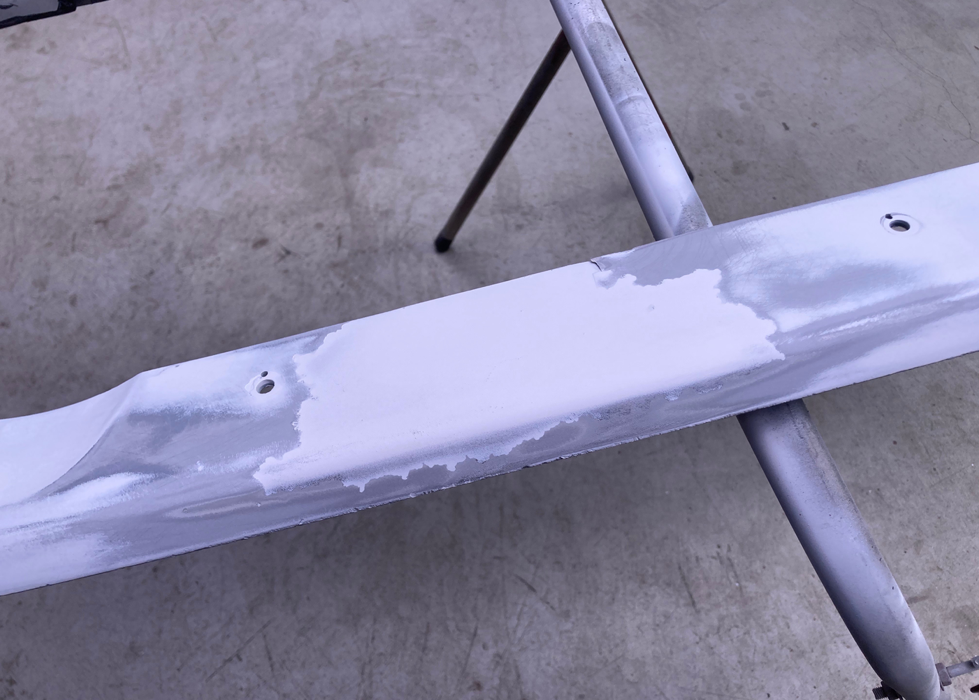
Place putty in the area where the paint has been peeled off and sharpen.
Apply a thin layer of putty, apply primer and surfacer on it, and sharpen it to prepare the surface.

After confirming the overall condition, start repairing.
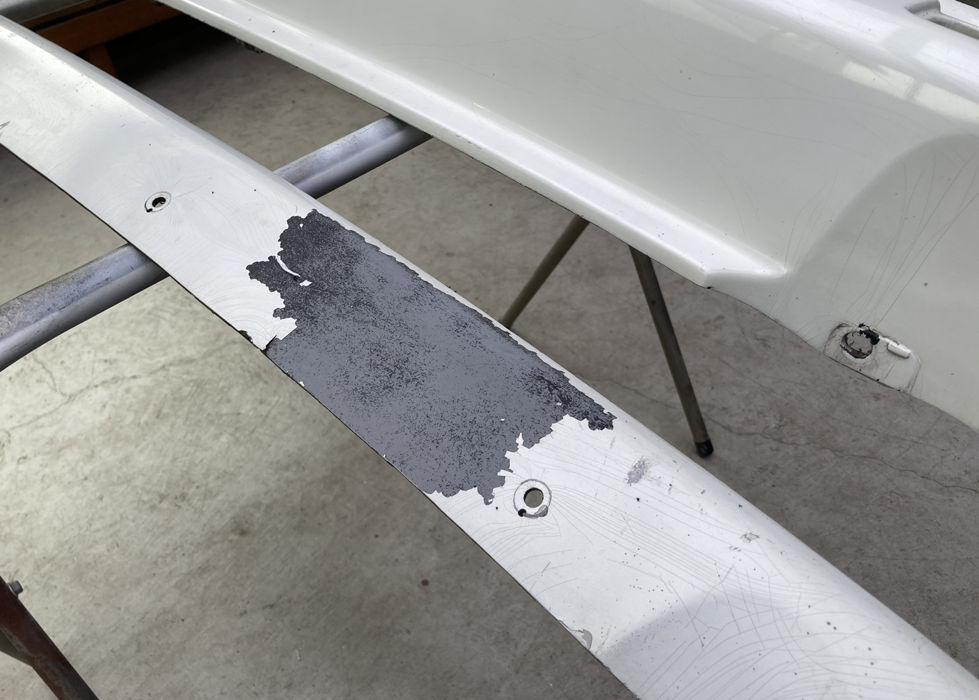
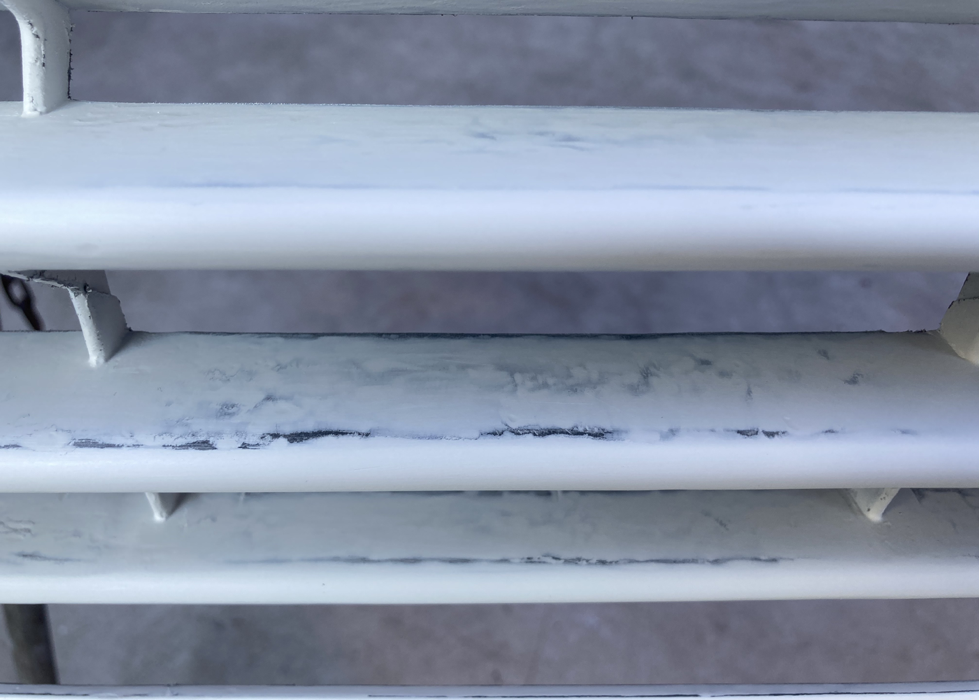
Some of the paint has peeled off.
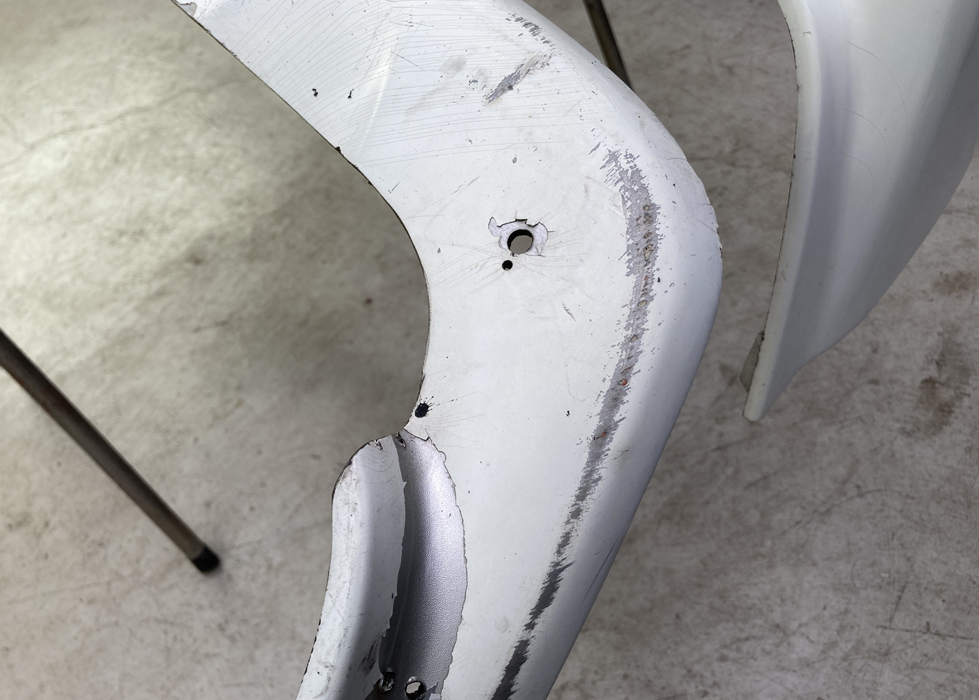
The lip spoiler I made before is also in a disappointing state.
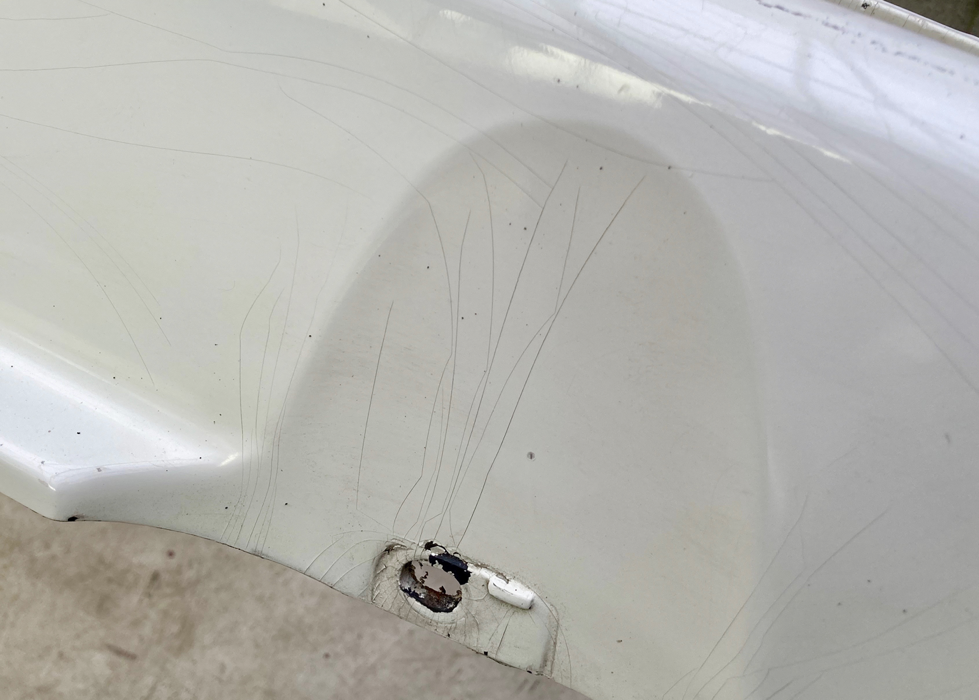
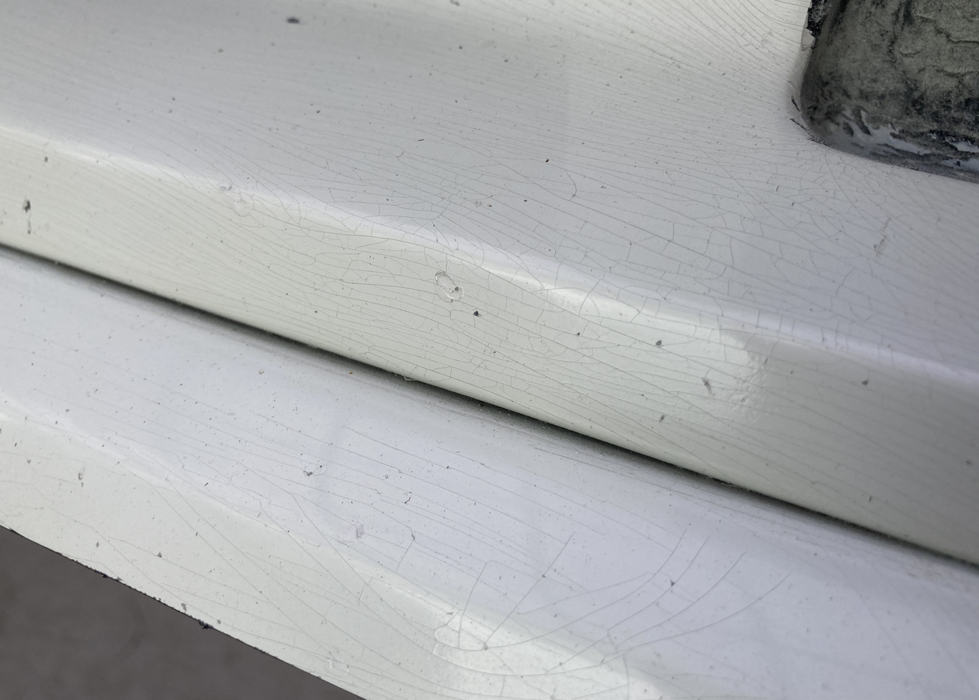
There are countless cracks on the surface.
The paint is also cracking around the fog lights.

This is after hitting a pillar or wall in the parking lot.
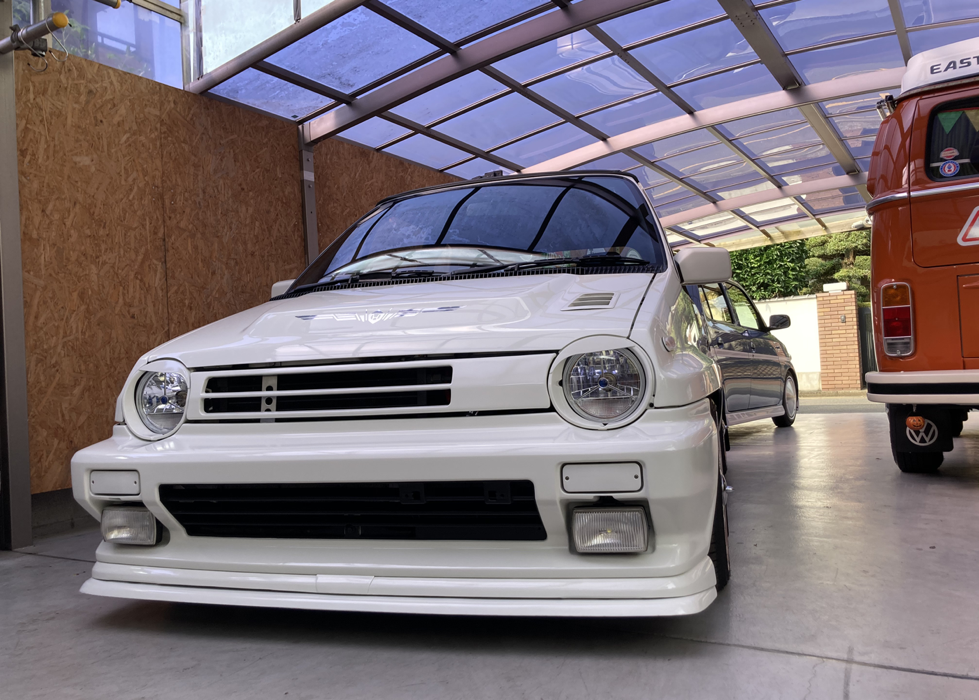
Extra completion photo.